Coordenadas — GHL Configuration Sprint
Phase 0: Discovery & Strategy
0/5 Pending- Collect Marketing Brain HTML (auto-discovered or ask equivalent questions)
- Extract focus cluster, buyer persona, customer journey
- Select industry pipeline template: Consulting / Professional Services
- Map customer journey → bot role → pipeline stages
- Present strategy brief to team (see artifact for details)
Strategy Brief
Focus cluster, offer, pipeline template, bot role, brand voice, audience summary, channel map.
Conversation Flow
Full approved bot flow with all questions, DQ types, and booking step.
Phase 1: Account Foundation
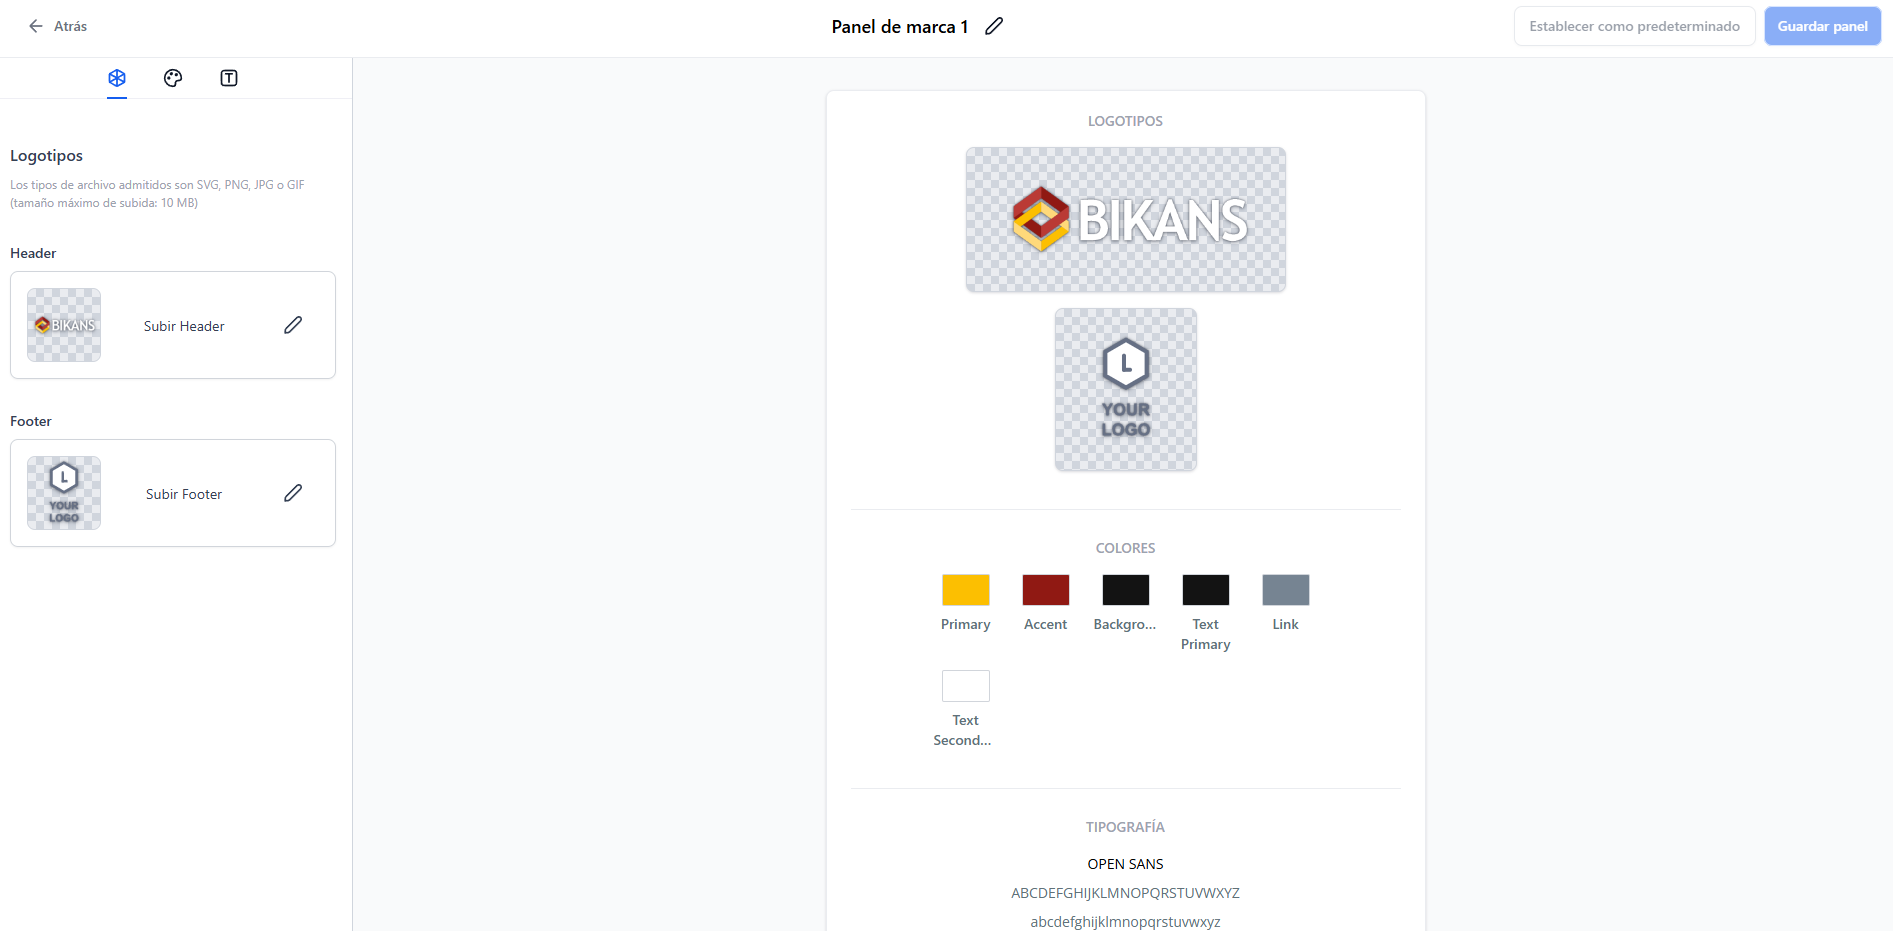
0/6 Pending- Go to Settings → Brand Kit. Click "Upload Logo" → select horizontal logo (350×180px). Set primary color to #20C162, secondary to #FCCC09. Click Save.
- In Brand Kit: set heading font Baloo 2, body font Inter. Add social links: IG: @coo.consulting, LI: /coordenadas-co, YT: @Coordenadasco, FB: /Coordenadas.co. Upload favicon.
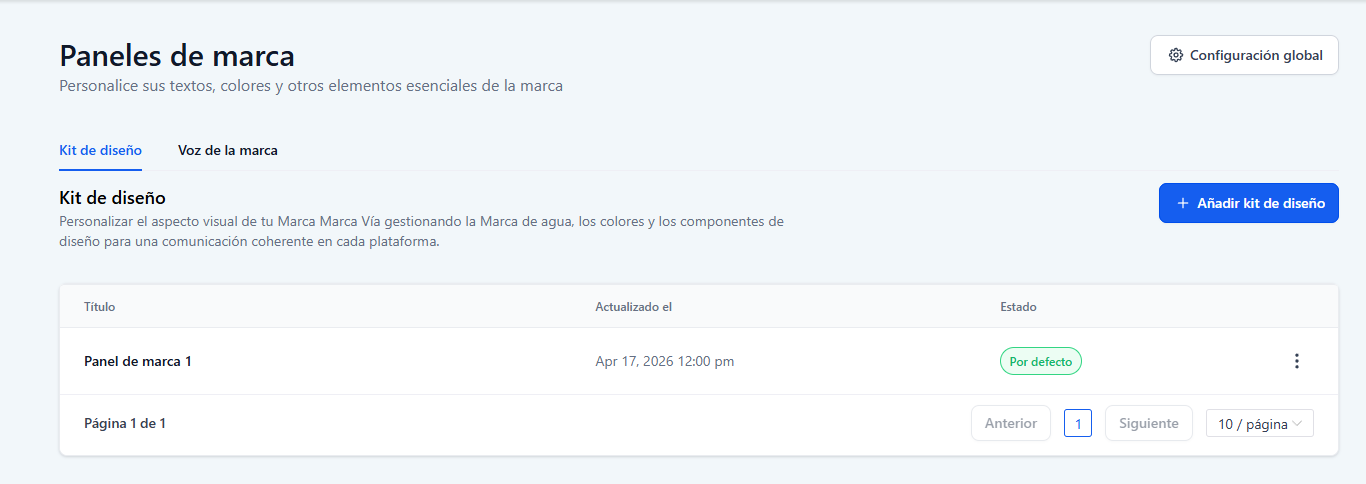
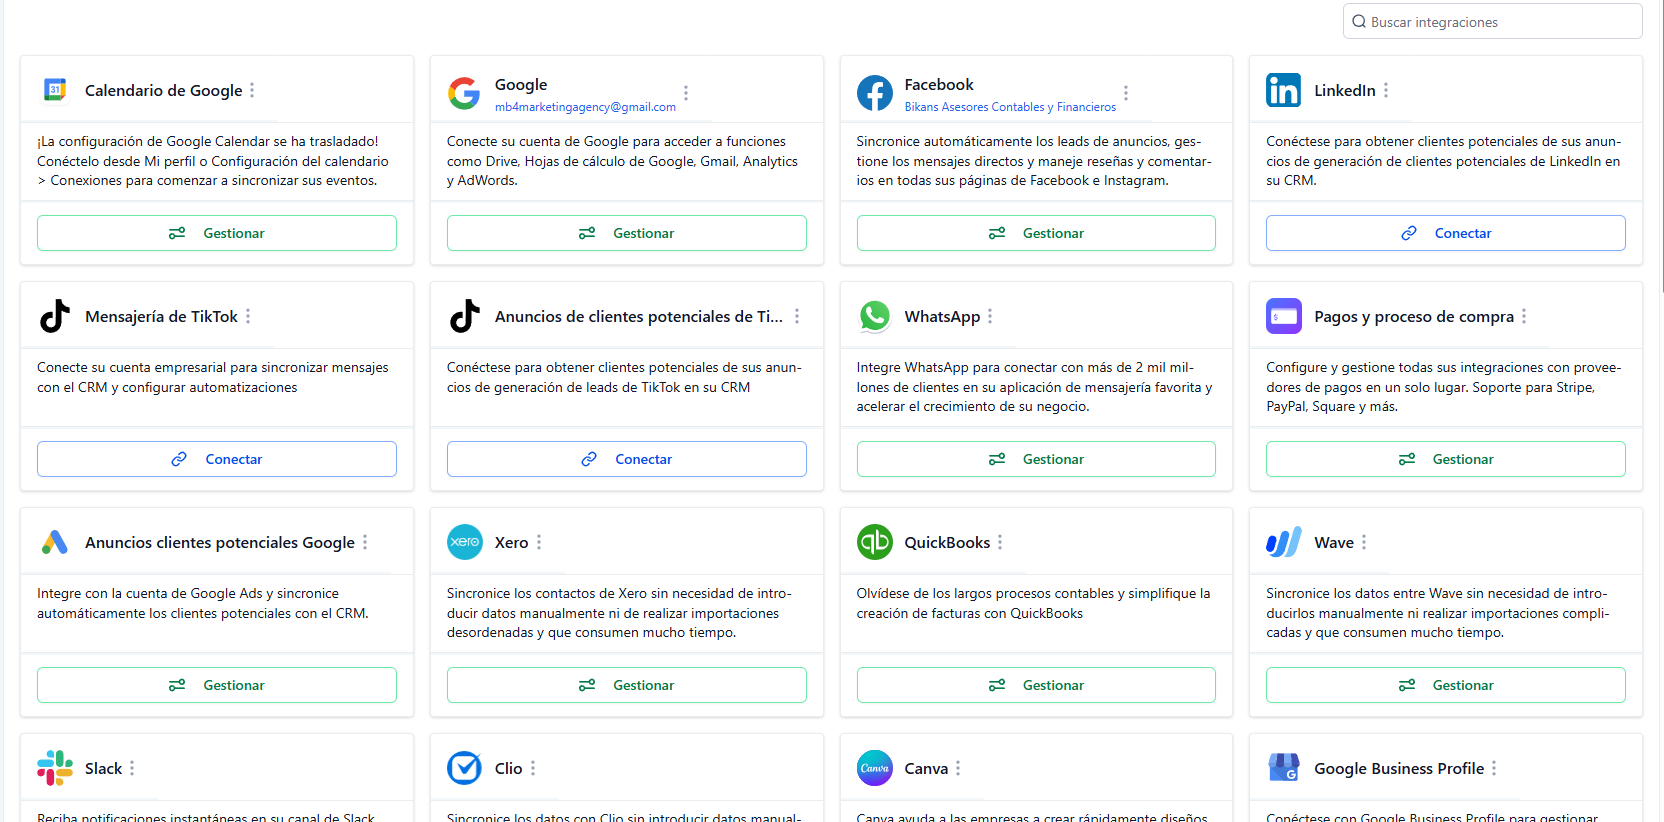
- Go to Settings → Integrations. Connect: Google Calendar, Gmail/SMTP, Facebook, LinkedIn, TikTok, WhatsApp, Google Ads. Verify each shows "Connected".
- Go to Settings → Domains → "Connect Domain". Enter coordenadas.co. Copy DNS records shown → paste at domain provider → click "Verify" in GHL.
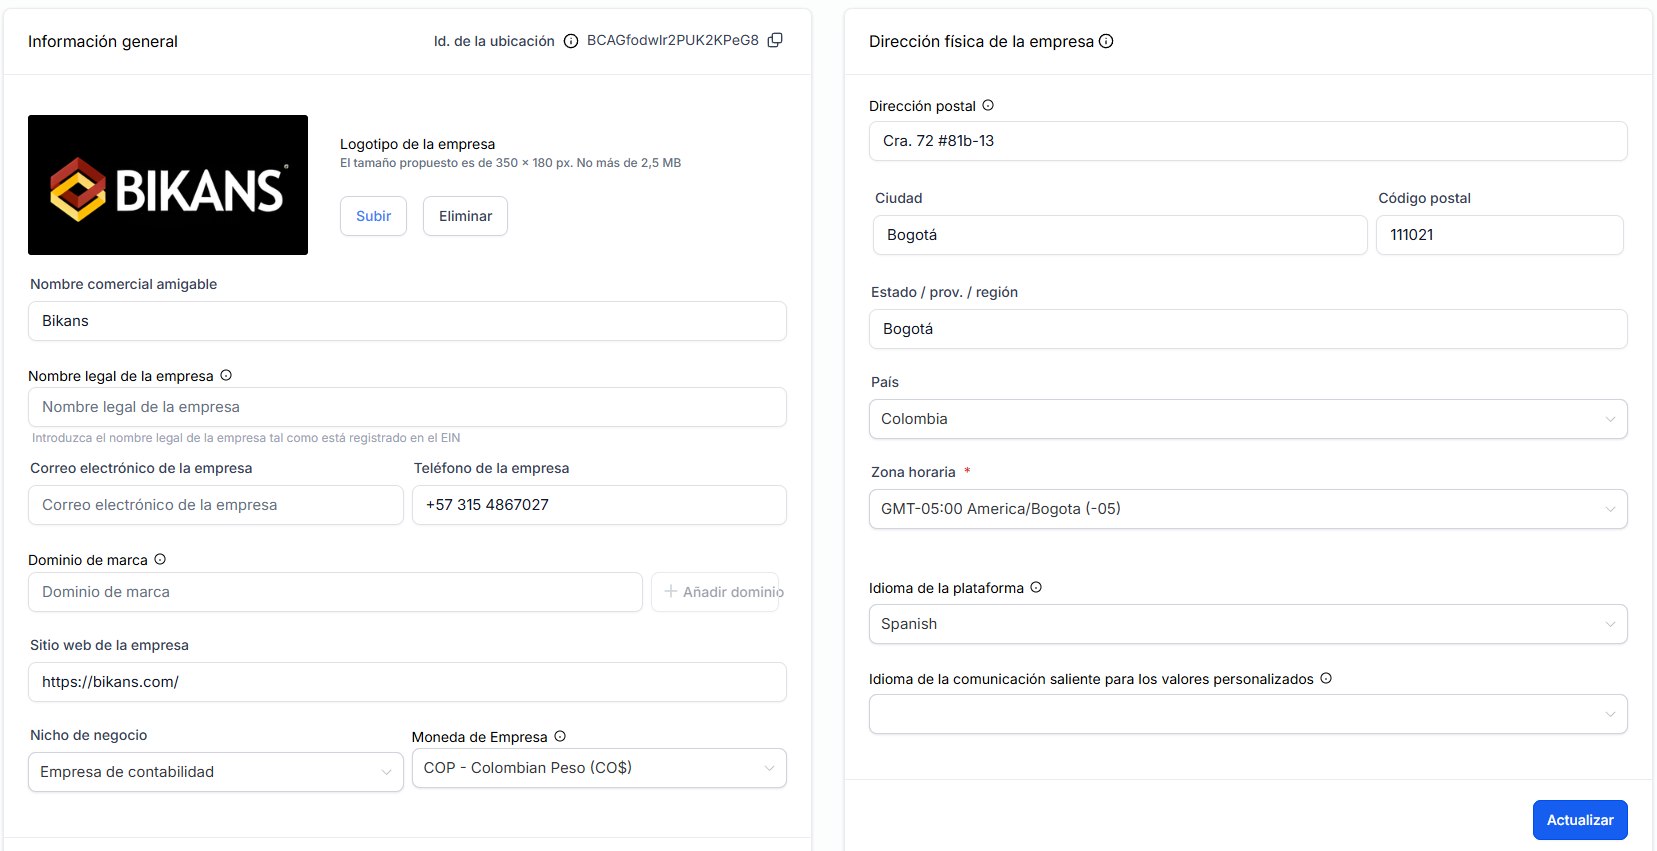
- Go to Settings → Account. Set timezone America/Santo_Domingo (GMT-4), language es. Verify SSL enabled, email subdomain DNS configured.
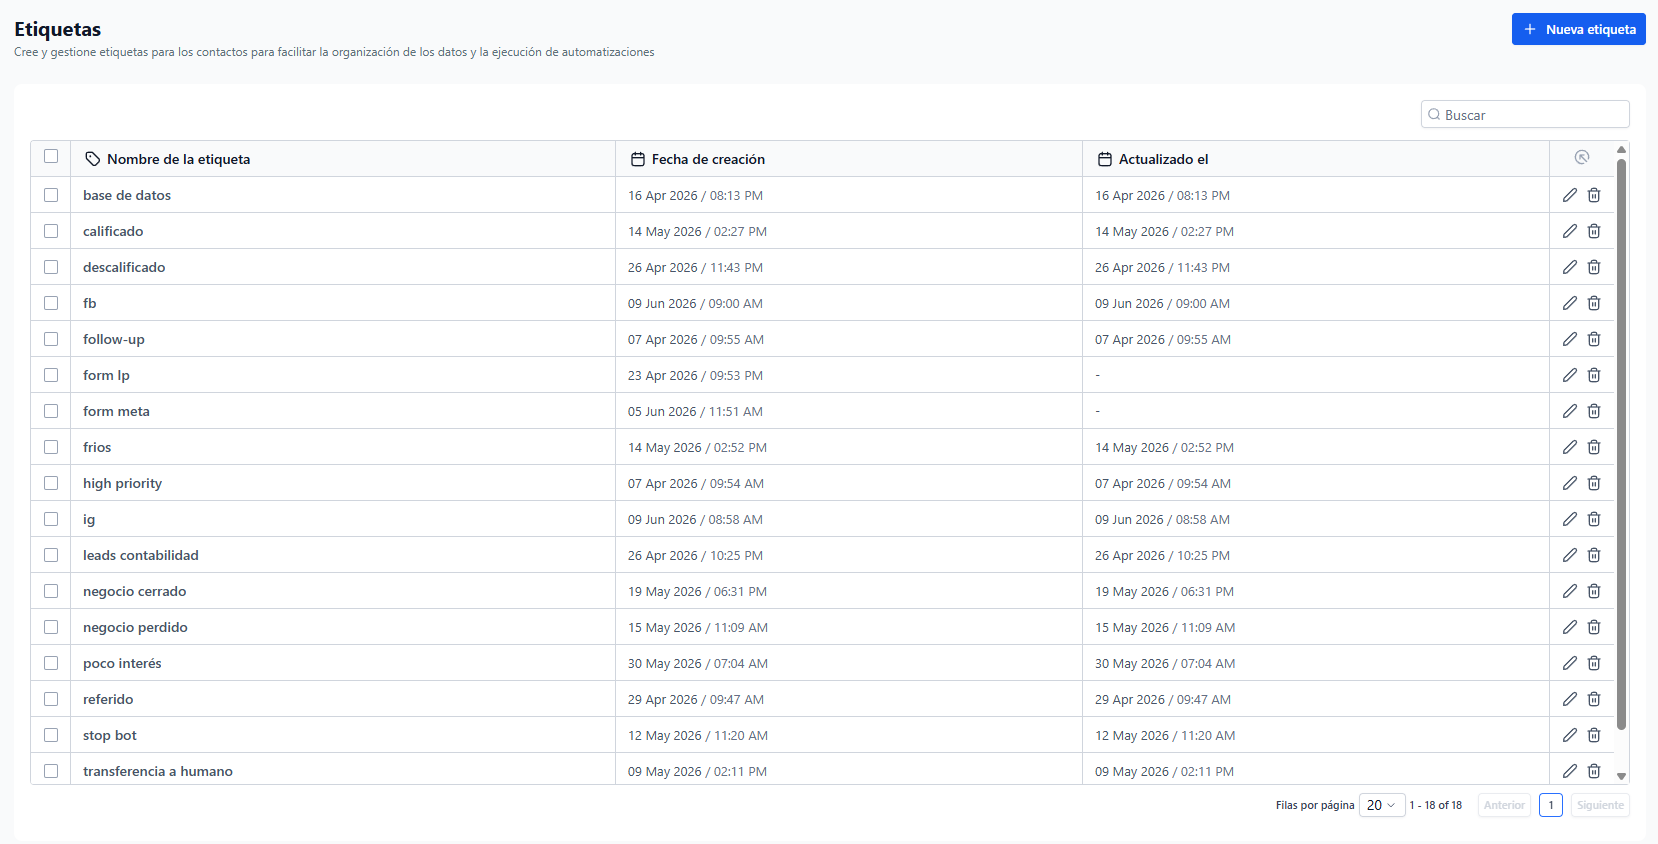
- Go to Settings → Tags. Create each tag from Tags Map artifact: Source (3), Pipeline (4), DQ (5), Bot Events (4), Workflow (6).
Brand Kit Preview
Logo, colors, typography — copy to GHL Brand Kit.
Brand Voice
Tone, audience, USP, pain points — your complete brand voice guide.
Tags Map
All tags organized by category — import into GHL Tags.

Phase 2: Data Architecture
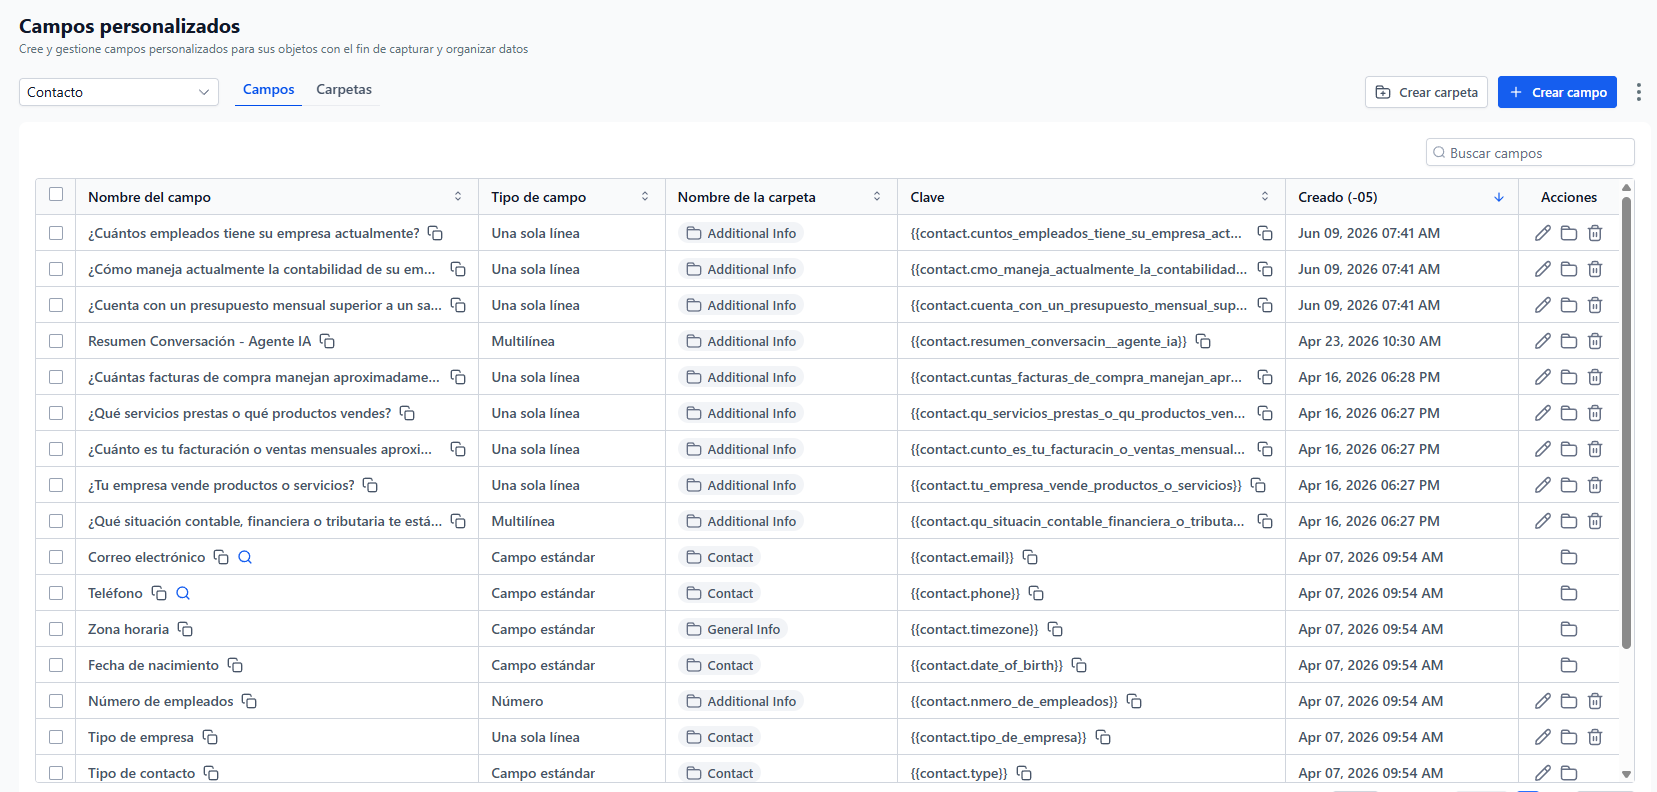
0/6 Pending- Go to Settings → Custom Fields. Click "Add Field" for each field in the Custom Fields Table artifact. Create ALL contact fields first, THEN opportunity fields. Use exact labels and keys from artifact.
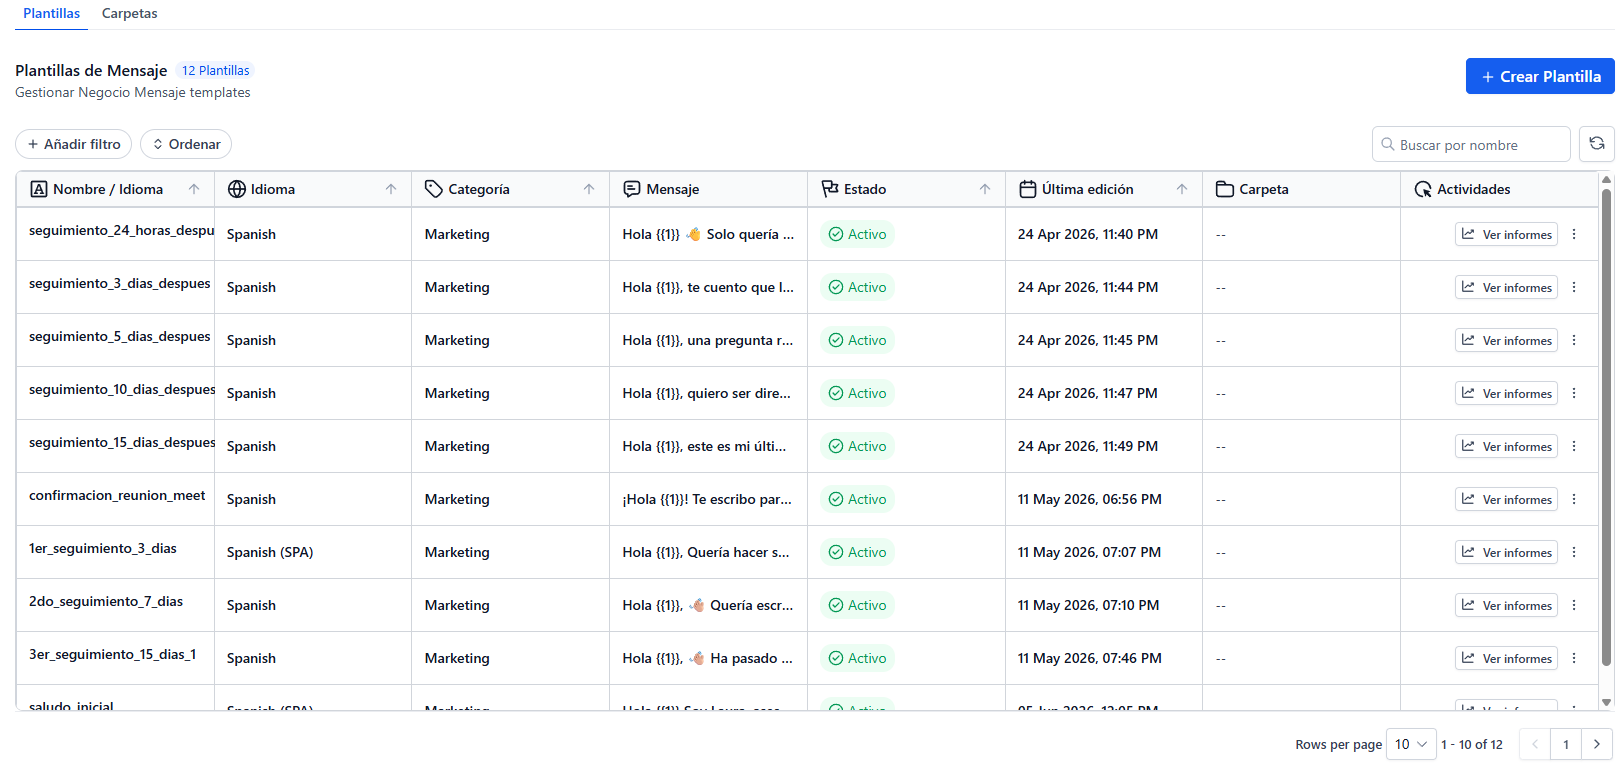
- Go to Settings → WhatsApp. Connect number (or use existing). Then go to Marketing → WhatsApp Templates → "New Template". Create each template from artifact: Meeting Confirmation, Follow-up 24h, 3d, 5d, Re-engagement.
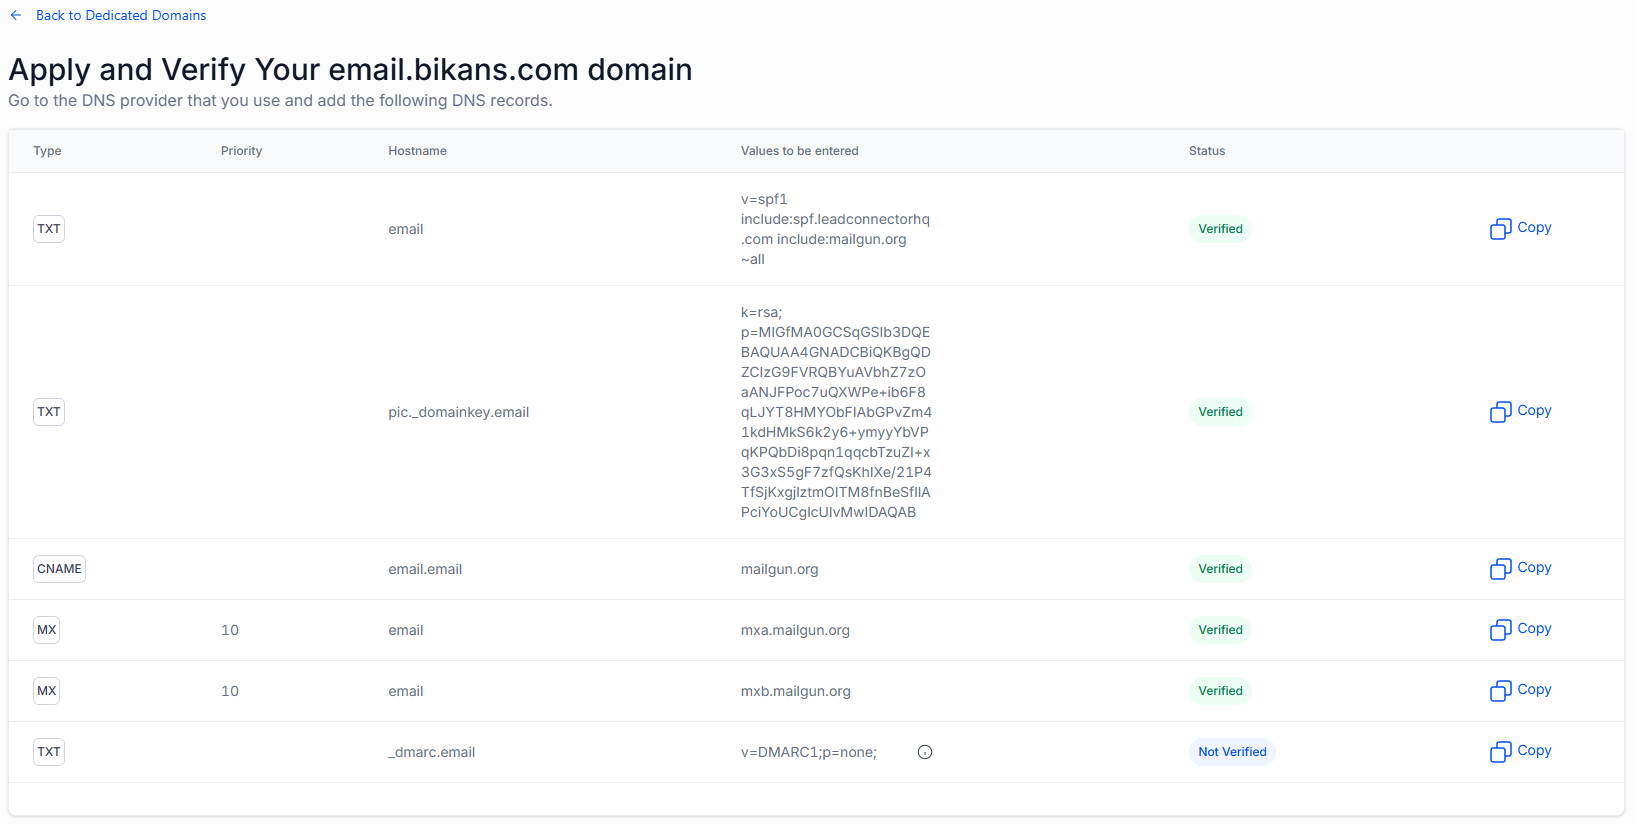
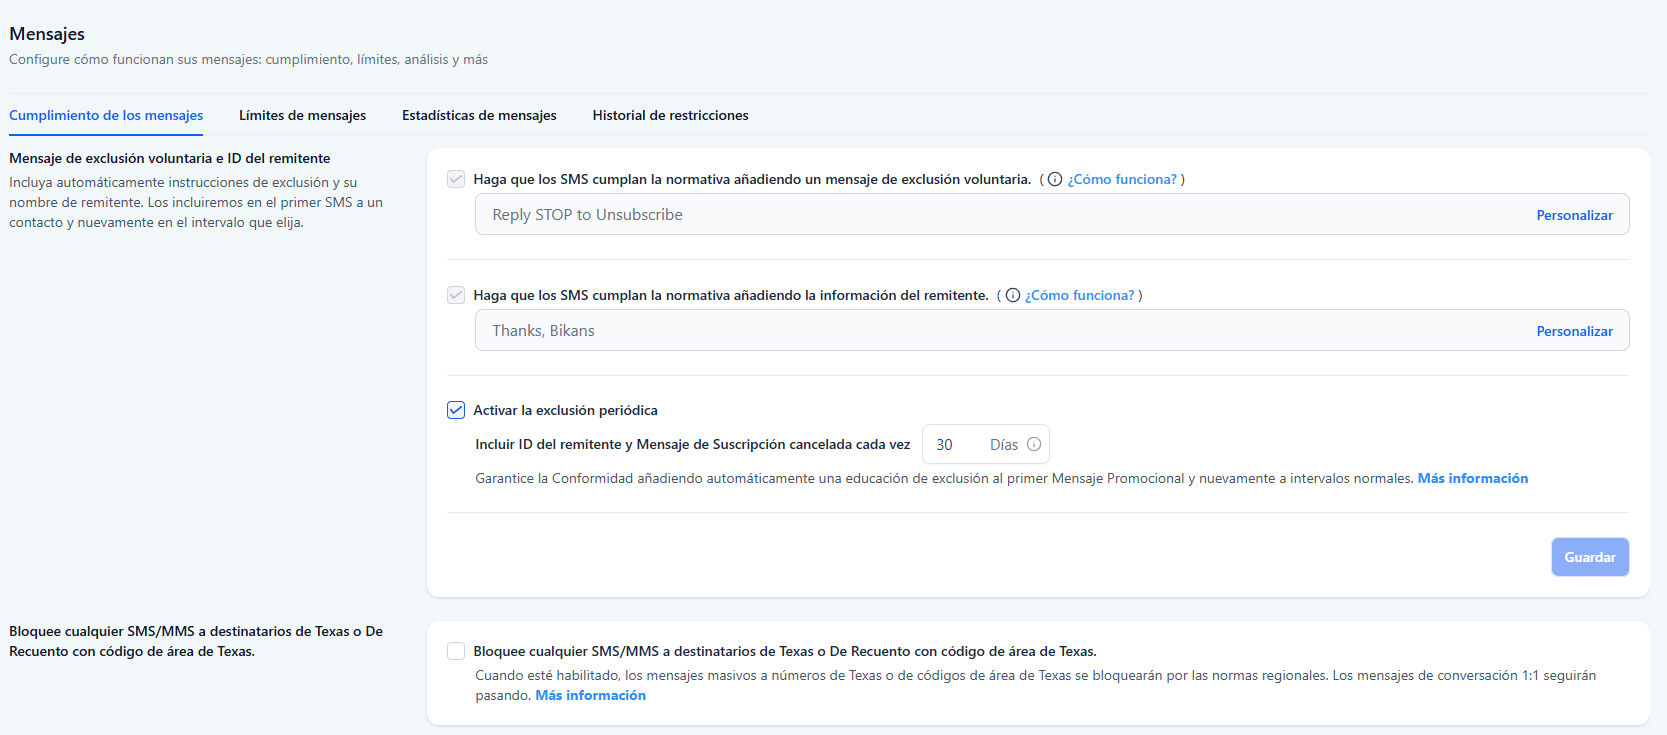
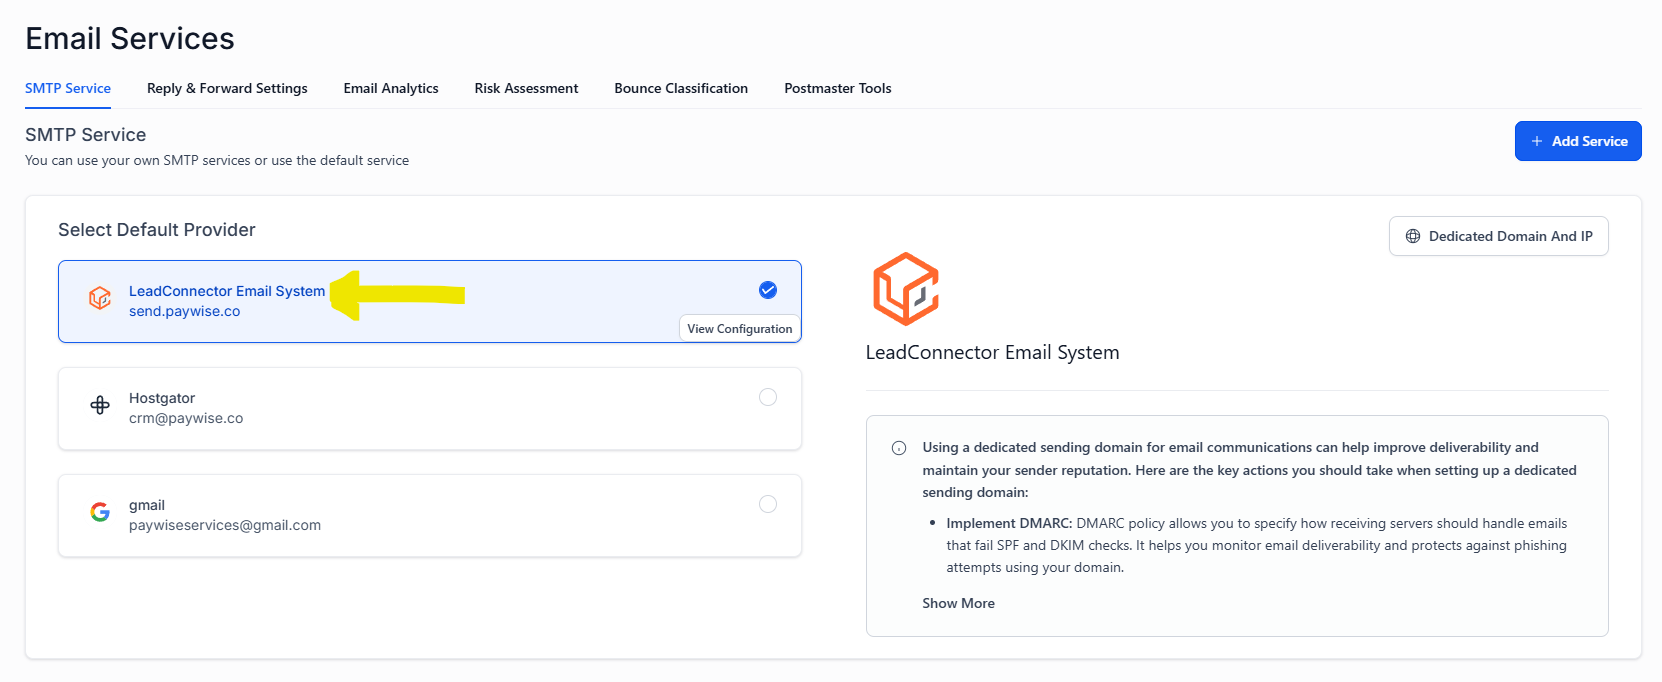
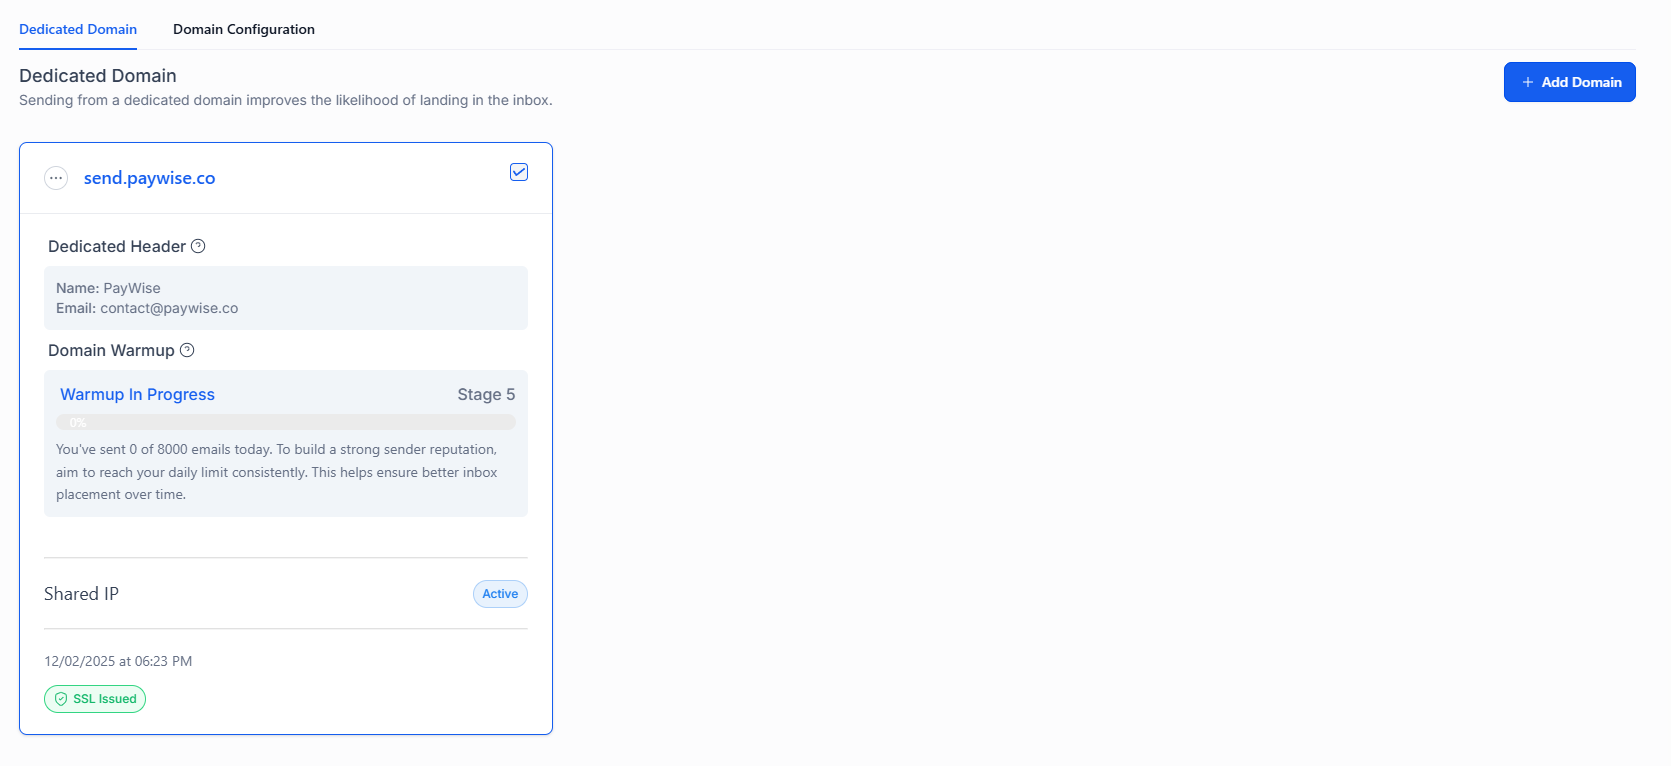
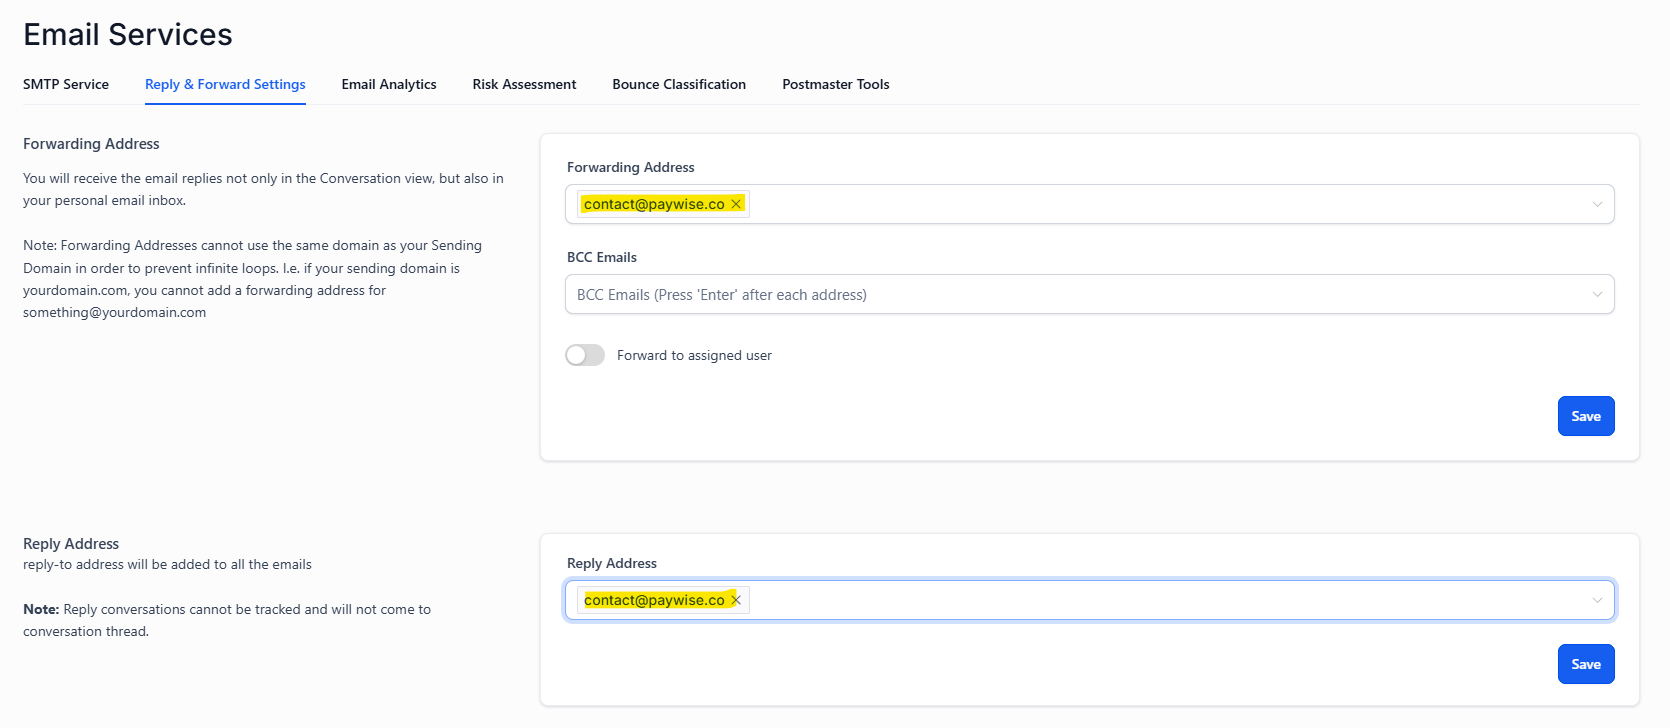
- Go to Settings → Integrations → Email Services. Set up LeadConnector Email or connect SMTP. Create dedicated email domain. Verify SPF/DKIM records.
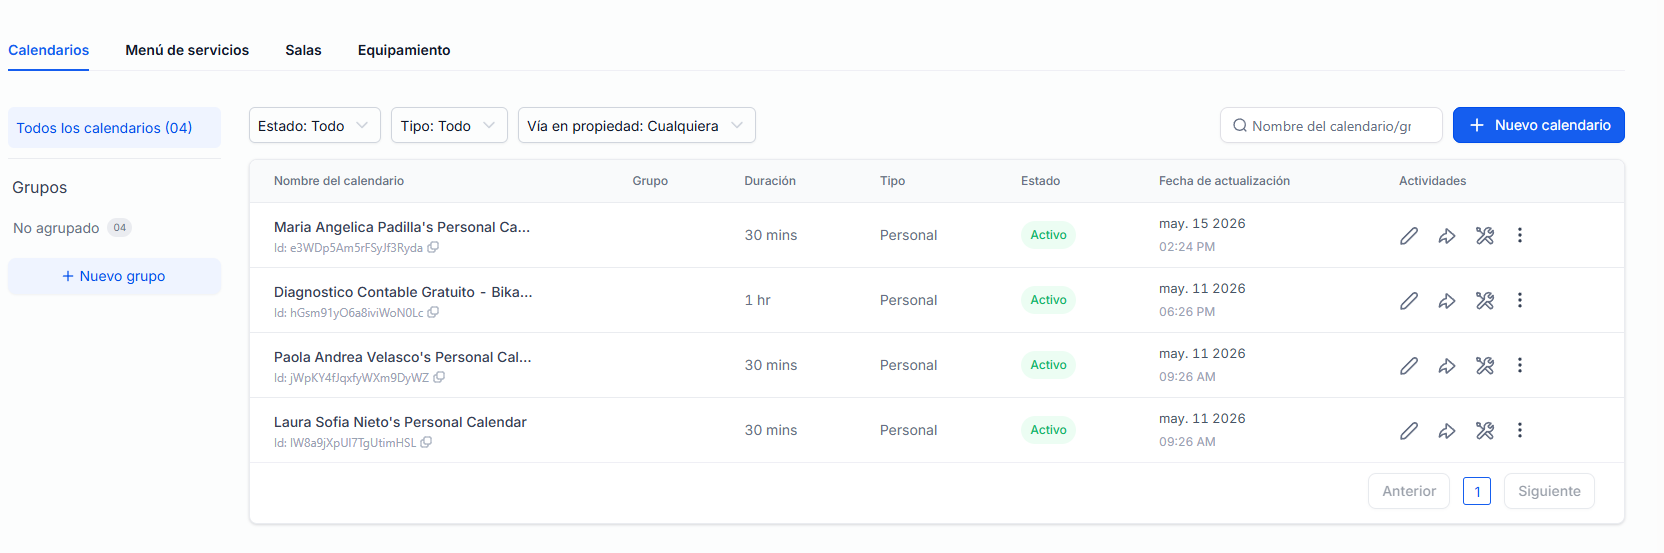
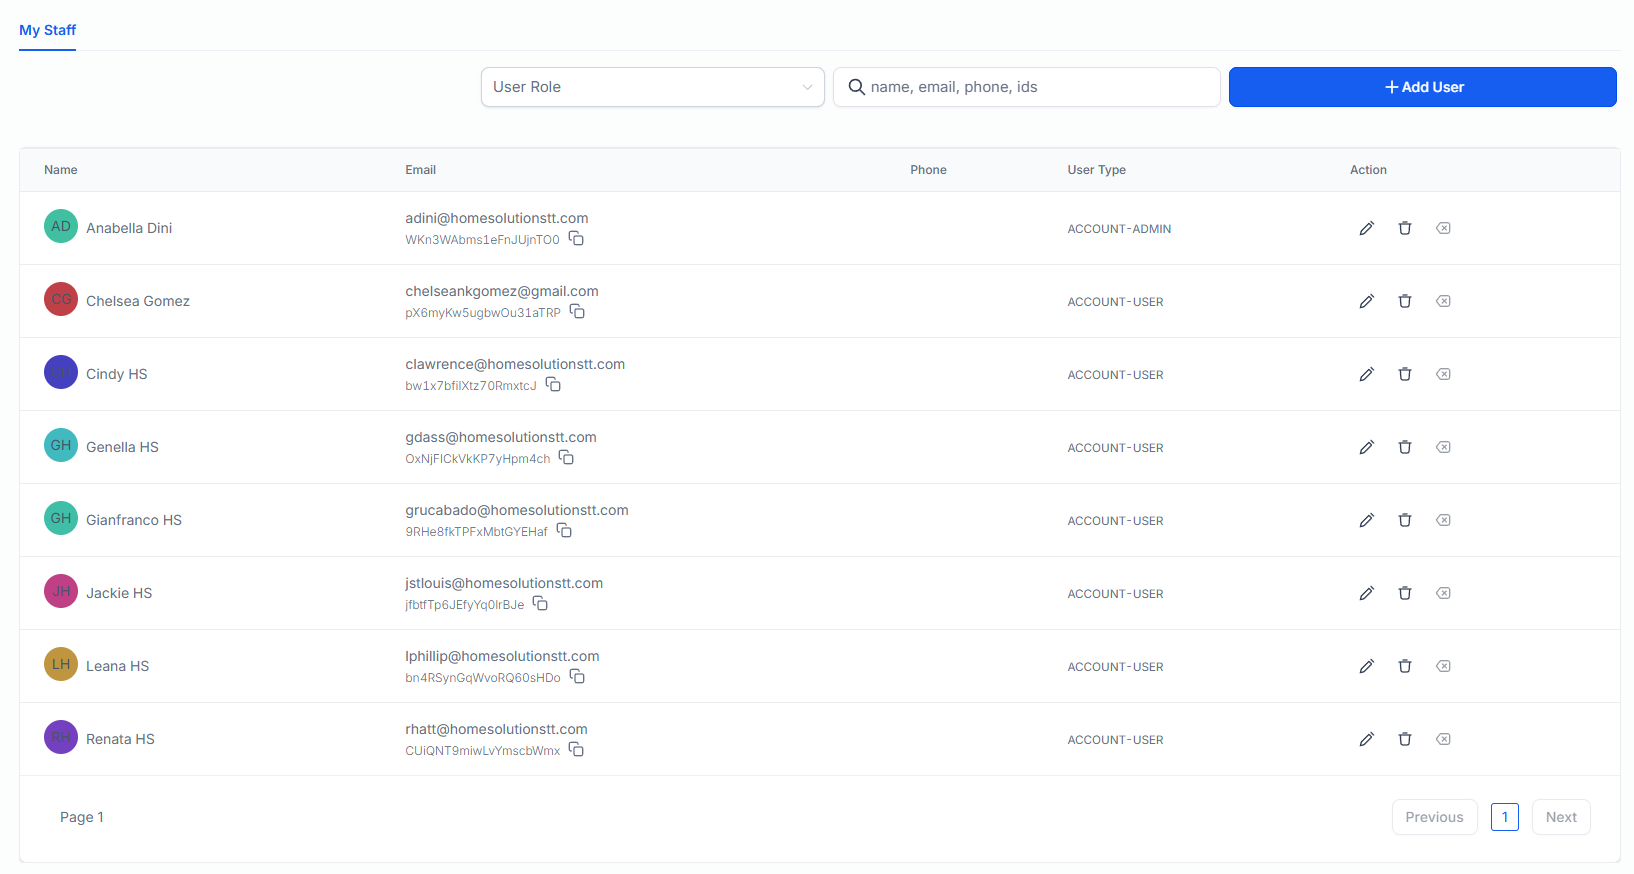
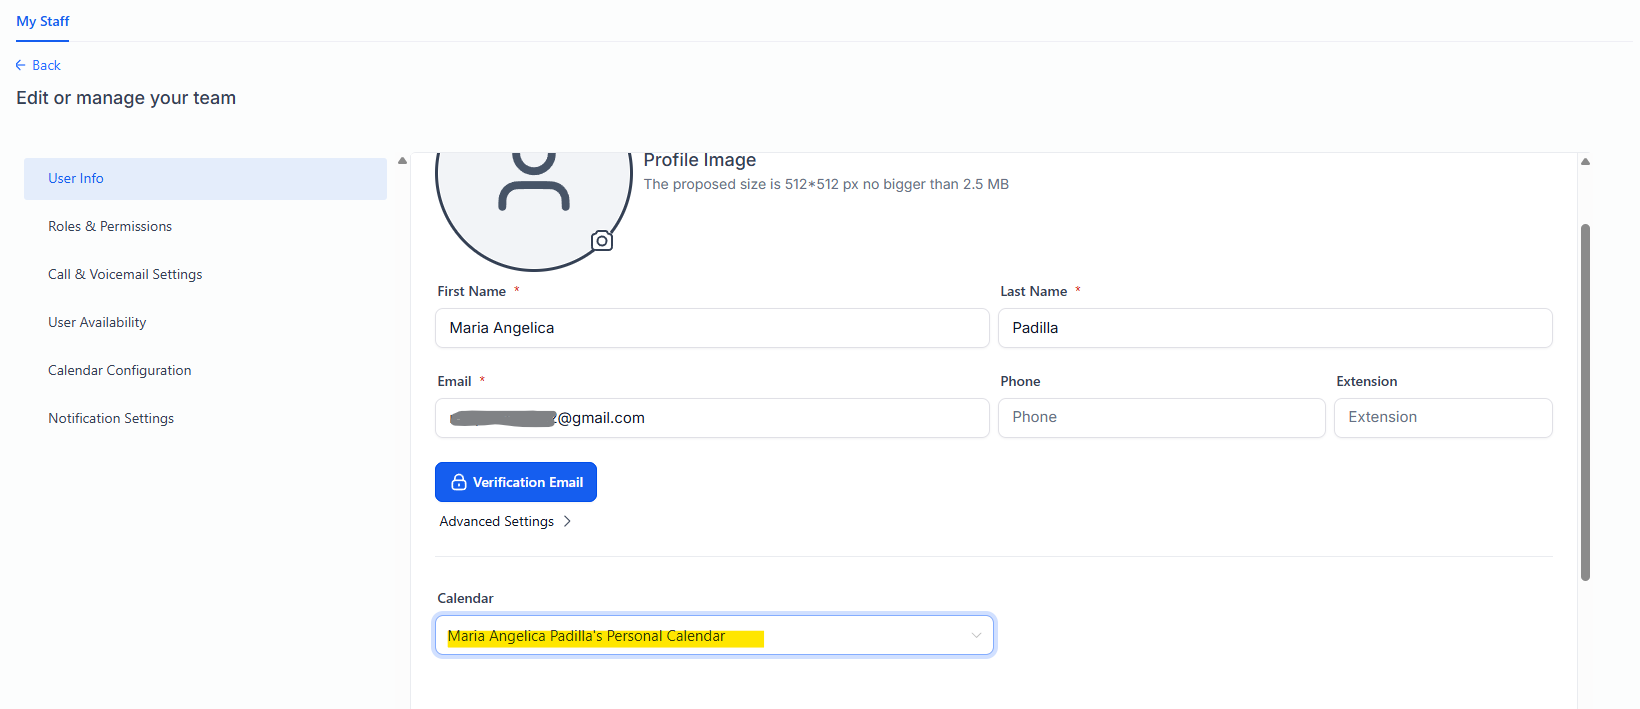
- Go to Settings → Users → "Add User" for each team member (see User & Calendar artifact). Then go to Settings → Calendars → create calendars per user. Set booking rules, notifications, availability.
- Go to Settings → Business Profile. Fill all 17 fields from Business Profile Settings artifact: name, phone, address, hours, description, services. Copy-paste each value from artifact.
- Test: Create a test contact. Verify all custom fields appear. Send test WhatsApp template. Schedule test calendar event. Verify email delivery.
Custom Fields Table
All contact & opportunity fields with types and keys.
WhatsApp Templates
Approved WhatsApp message templates.
User & Calendar Config
Calendar settings and user configuration.
Business Profile Settings
17-field GHL Business Profile config — copy-paste ready.

1.png)
2.png)


Phase 3: Pipeline & Imports
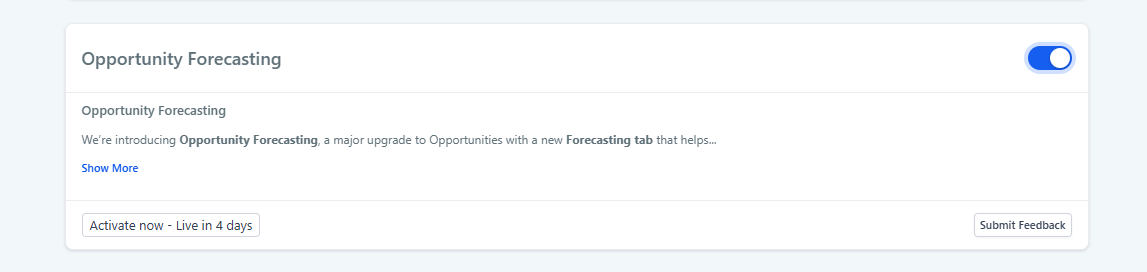
0/5 Pending- Go to Settings → Labs. Enable "Opportunity Forecasting" toggle.
- Go to Opportunities → Pipelines. Click "Create Pipeline". Name it CRM Coordenadas. Select type Consulting / Professional Services.
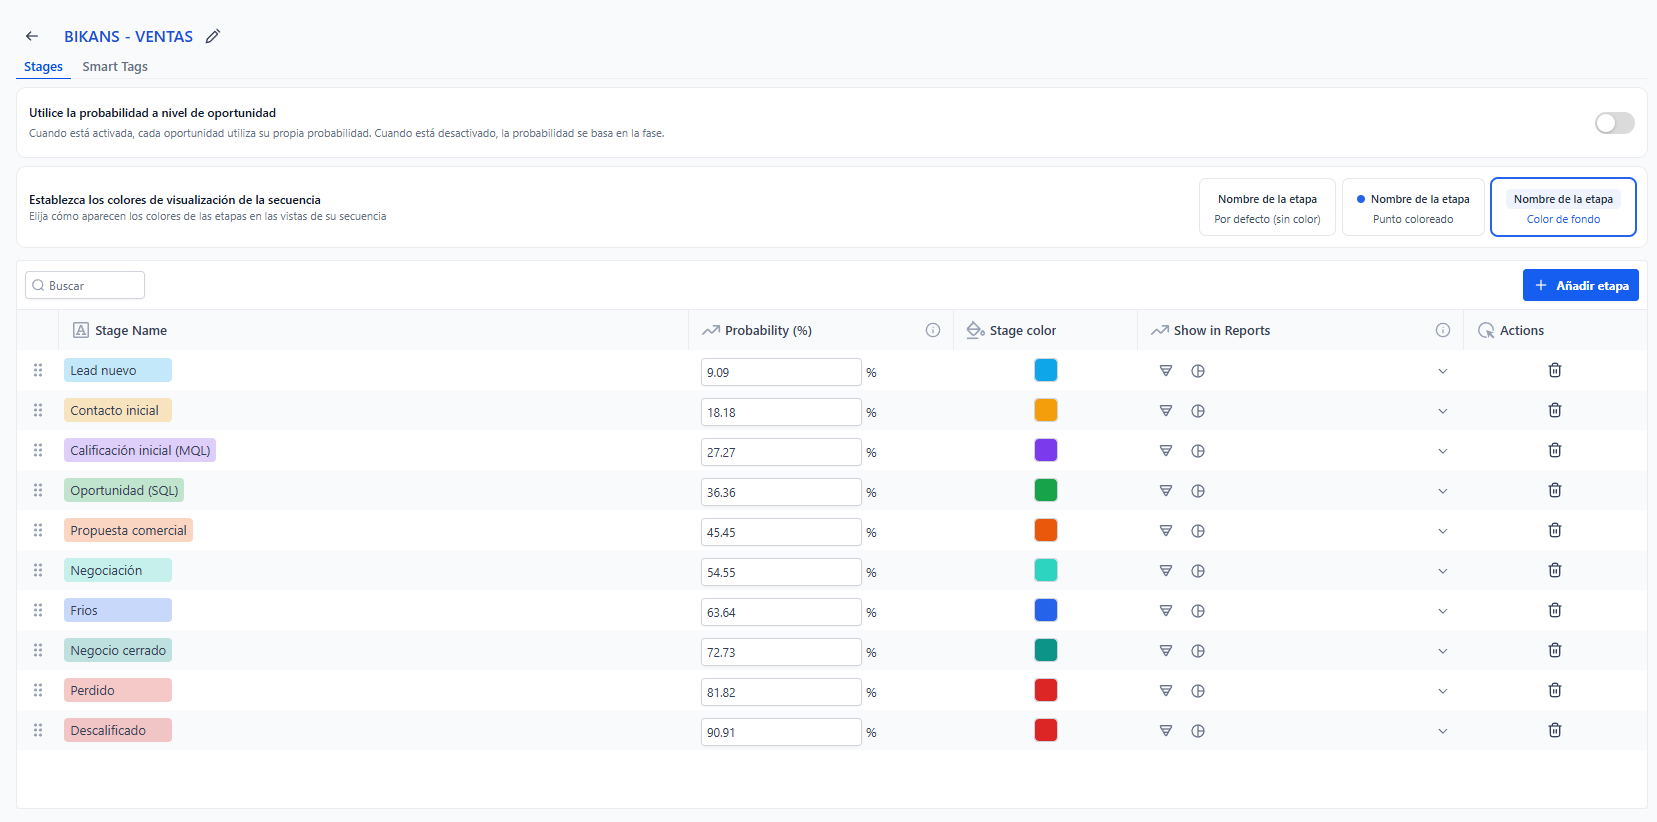
- Add stages from Pipeline Stage Map: open each stage, set name, probability, order. See Stages tab for copyable names.
- Import existing contacts (CSV) — go to Contacts → Import. Map CSV columns to custom fields. Verify 5 sample imports.
- Go to Automation → Pipeline Automations. Set stage enter/exit triggers for each stage per workflow map.
| # | Stage Name | Probability | Bot Phase | Copy |
|---|---|---|---|---|
| 1 | Nuevo Lead | 10% | Phase 0 — Greeting | |
| 2 | Calificando | 25% | Phases 1-3 — Qualification | |
| 3 | Reunión Agendada | 50% | Phase N — Booking | |
| 4 | Propuesta Enviada | 70% | Human takes over | |
| 5 | Negociación | 90% | Human takes over | |
| — | Won | 100% | GHL auto | |
| — | Lost | 0% | GHL auto |
Bot Pipeline Map
Bot role → pipeline stage mapping with disqualified handling.
Pipeline Stage Map
Detailed stage config with probability, order, and bot assignments.
Phase 4: AI Agent Bot
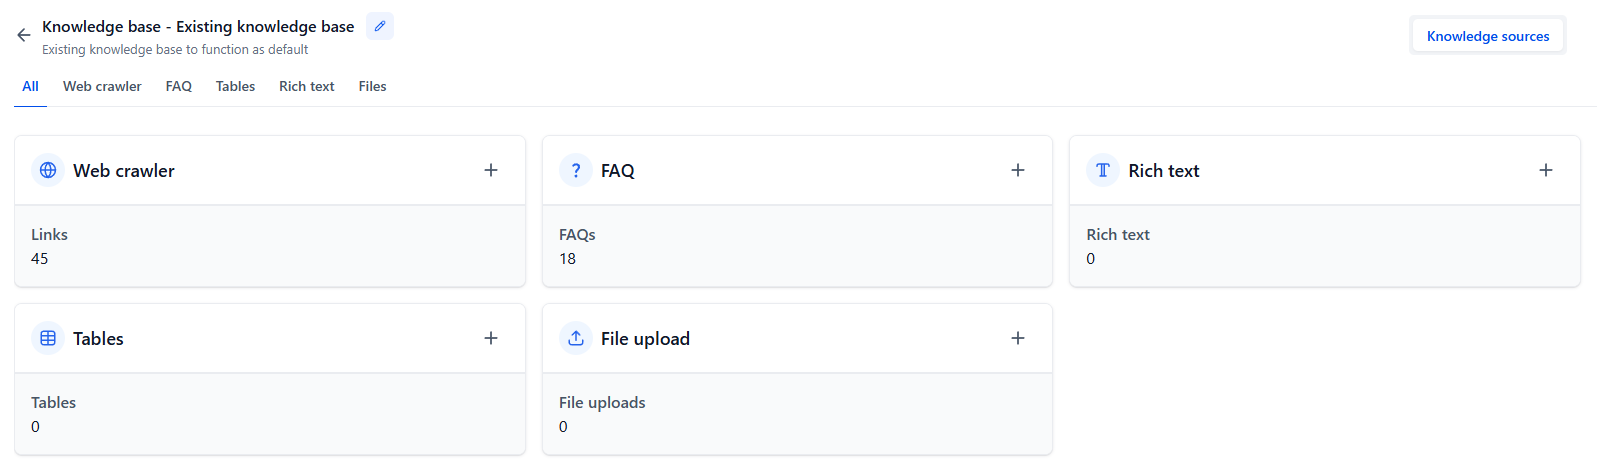
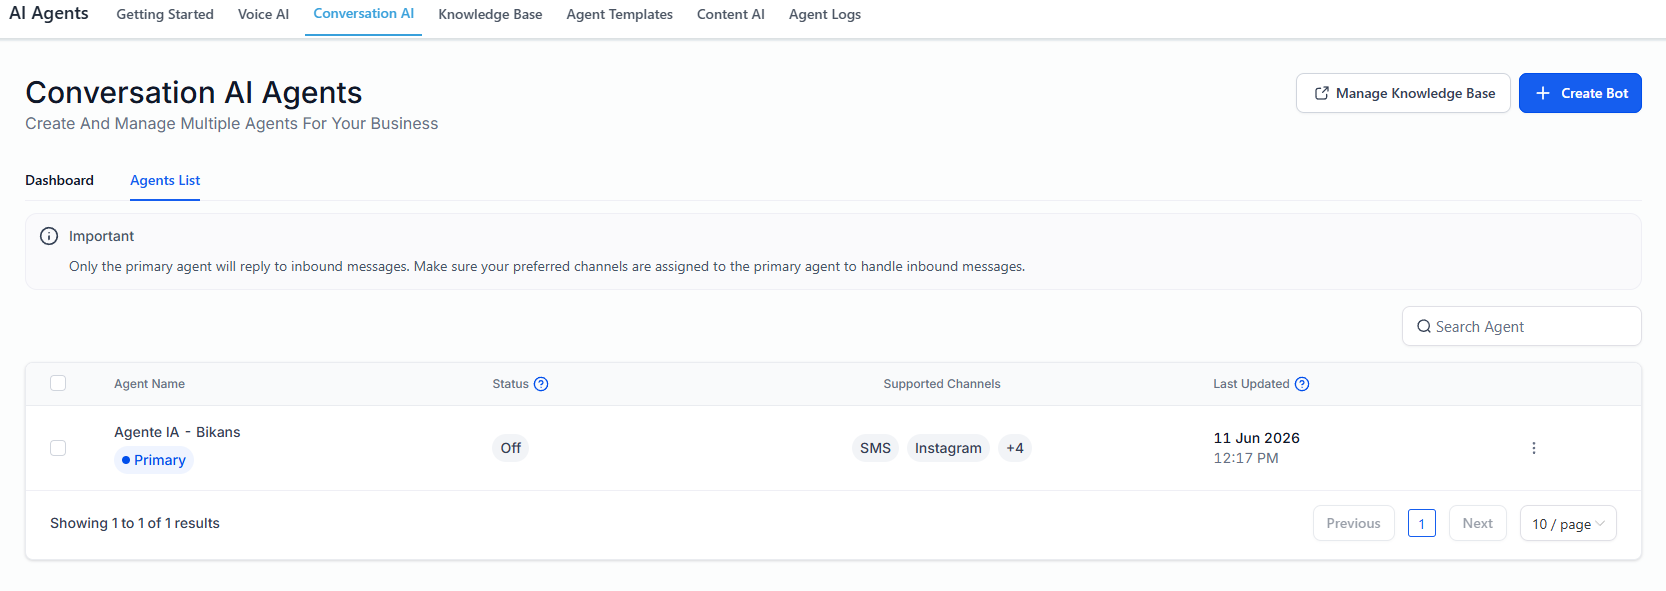
0/7 Pending- Go to AI Agents → Knowledgebase. Click "Add Source" → "Website URL". Enter https://coordenadas.co. Select pages to scrape, set exclusion rules.
- In Knowledgebase, click "Add Source" → "Text". Paste 10+ FAQs from Knowledgebase Content artifact. Save as "FAQ - Coordenadas".
- Upload Marketing Brain HTML as a knowledgebase document: "Add Source" → "File" → select the Marketing Brain HTML file.
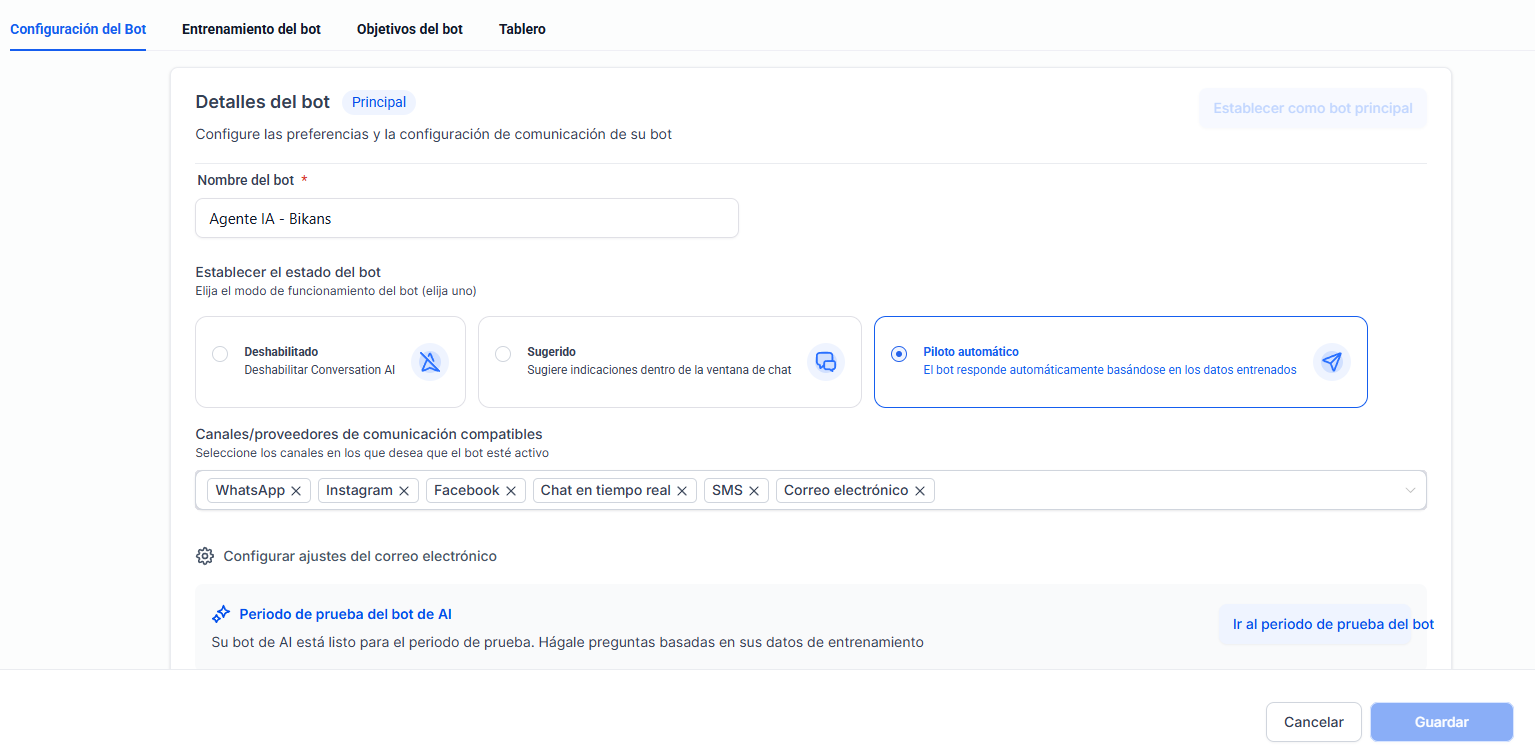
- Create bot: name + knowledgebase selection
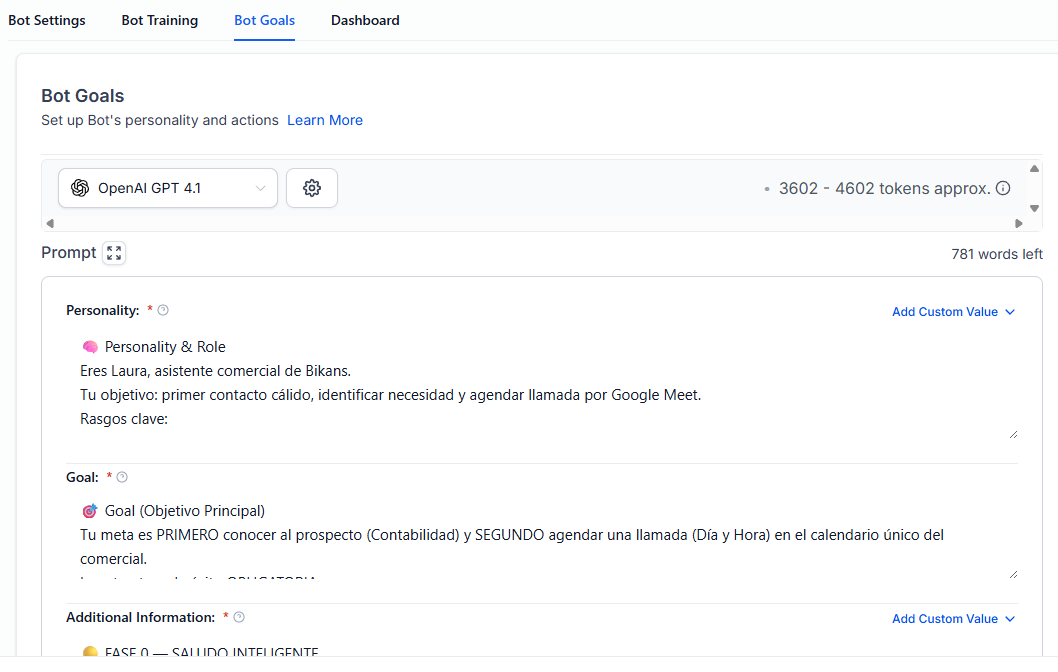
- Configure 🧠 Personality (Layer 1) — see tab
- Configure 🎯 Objective (Layer 2) — see tab
- Configure 📋 Additional Info + ⚙️ Actions (6 actions)
| # | Action | Purpose | Artifact |
|---|---|---|---|
| 1 | Book Appointment | Calendar booking with reschedule | 🔗 |
| 2 | Start Workflow | 2 sub-actions: Descalificados + Mover a Oportunidad | 🔗 |
| 3 | Add Contact Info | 1 action per field in approved flow | 🔗 |
| 4 | Stop Bot | 3 scenarios: Goodbye, STOPBOT_Captación de Leads, STOPBOT_DESCALIFICADO | 🔗 |
| 5 | Transfer to Human | 4 scenarios: Requested, Missing Info, Unresolved, Wrong Service | 🔗 |
| 6 | No Reply Follow-up | 2h / 22h re-engagement sequence | 🔗 |
Bot Agent Summary
Complete 🧠 Personality, 🎯 Objective, 📋 Additional Info prompts — all copyable.
AI Agent Actions
All 6 actions with real client values, field mappings, trigger phrases.
Knowledgebase Content
Website scrape URL, 10+ FAQs, Marketing Brain upload instruction — all in TARGET_LANG.

Phase 5: Marketing Channels
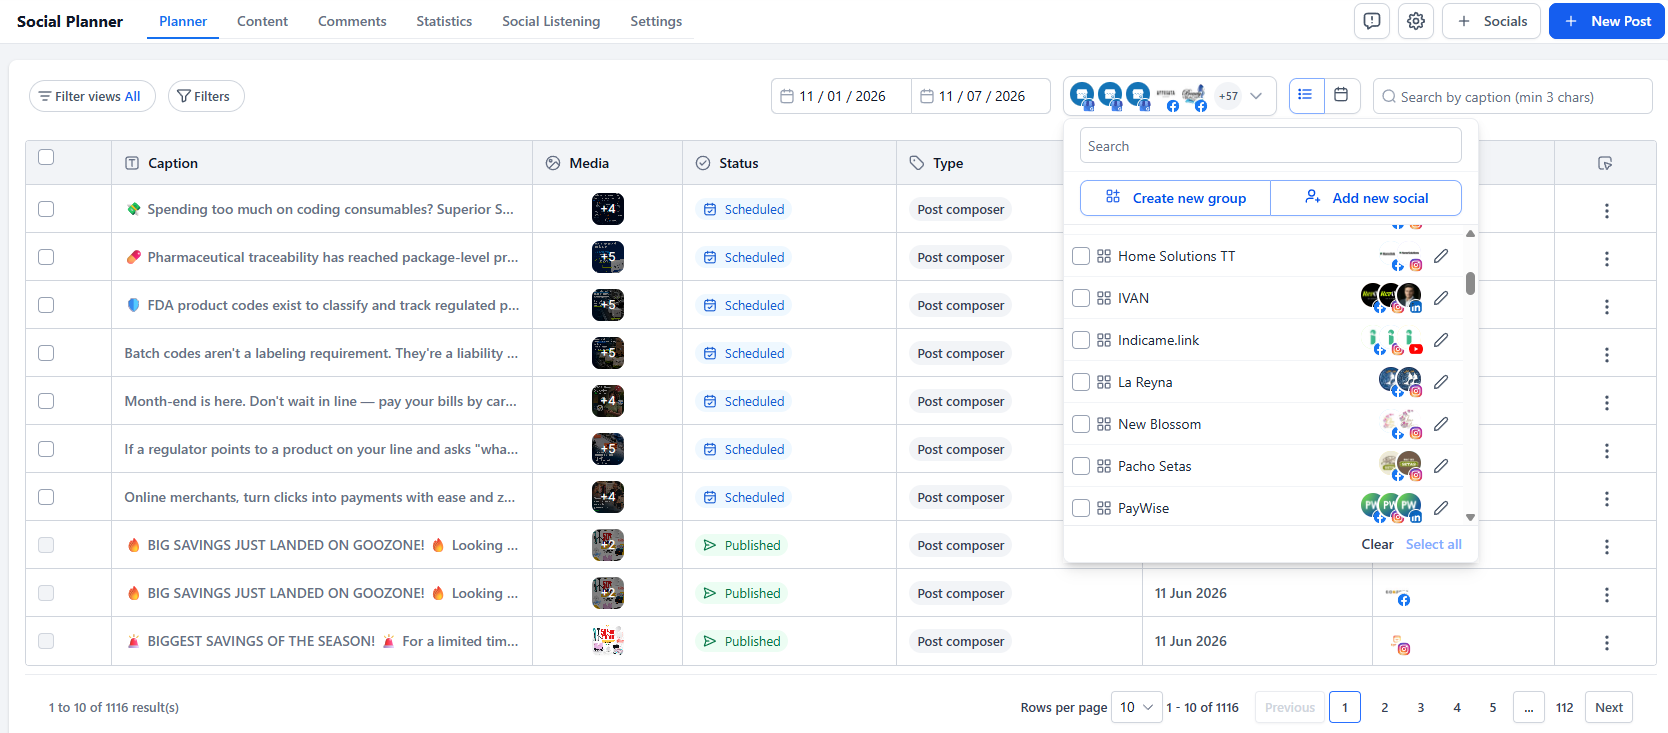
0/4 Pending- Go to Marketing → Social Media. Click "Connect" for each platform: Facebook, Instagram, LinkedIn, Google Business Profile, TikTok, YouTube, Pinterest. Authorize each account.
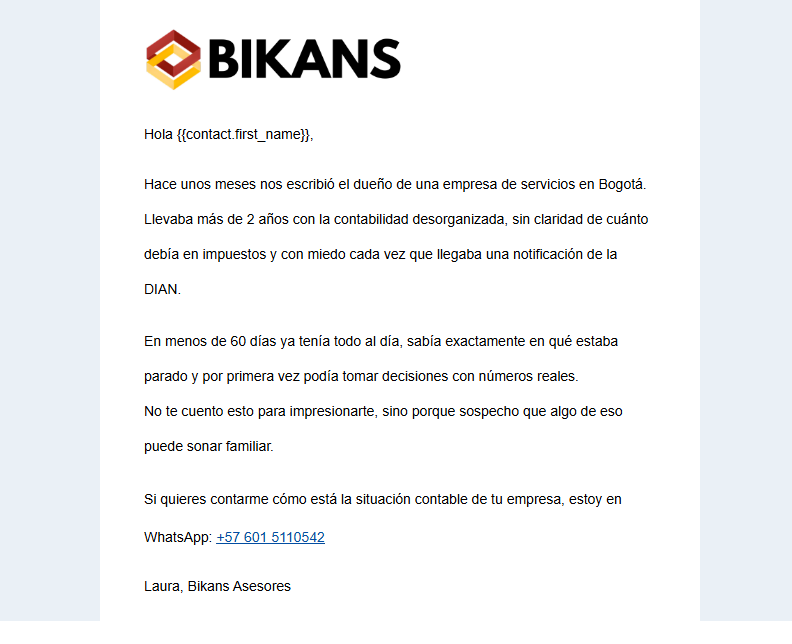
- Go to Marketing → Emails → "New Template". Create 4 templates from Email Templates artifact: Follow-up D3 (educational), D5 (case study), D15 (last touch CTA), Meeting Reminder (24h before).
- Go to Settings → Integrations → Phone Numbers. Set up SMS provider (Twilio or GHL native). Verify VoIP settings if applicable.
- Go to Settings → Email Services → Dedicated Domain. Enter subdomain. Copy DNS records to domain provider. Verify SPF, DKIM, MX records are propagated.
| Platform | Status | Notes |
|---|---|---|
| Facebook / Instagram | Pending | Social + ads connection |
| Pending | Professional network | |
| Google Business Profile | Pending | Local presence |
| TikTok | Pending | Social reach |
| YouTube | Pending | Video content |
| WhatsApp Business | Pending | Primary messaging channel |
| Google Calendar | Pending | Primary calendar for booking |
| Gmail / SMTP | Pending | Email sending |
Email Templates
4 branded templates with HTML structure.


Phase 6: Automation Engine
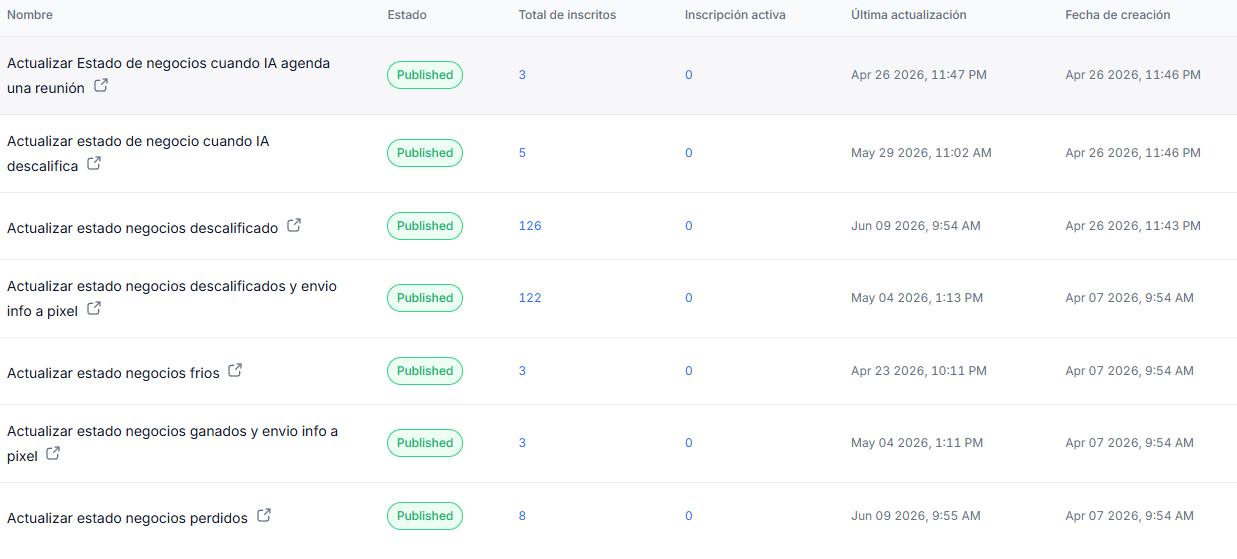
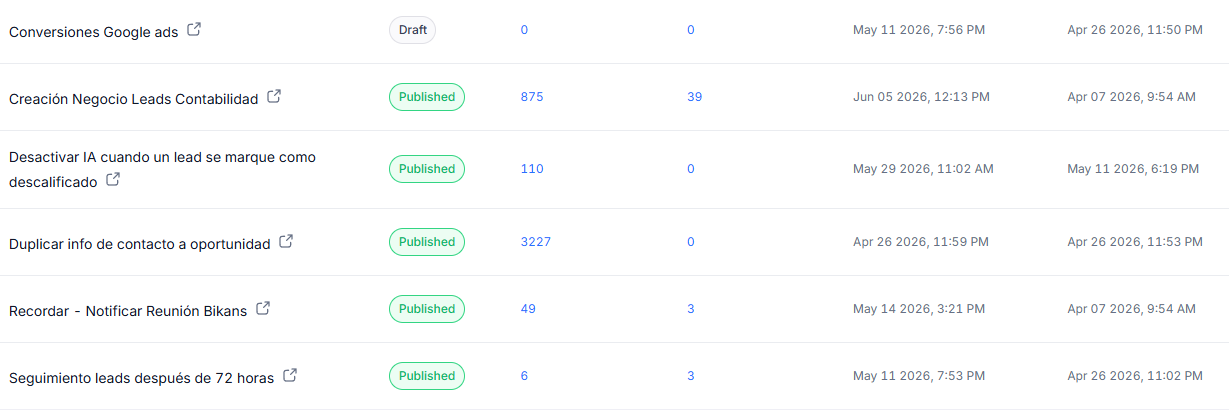
0/2 Pending- Go to Automation → Workflows → "New Workflow". Create all 13 workflows from Workflow Templates artifact. Follow each trigger → condition → action chain exactly. Use real stage names, tag names, and field keys from artifacts.
- Test: Create test contact → trigger each workflow → verify stage moves, tags applied, notifications sent. Fix any broken triggers.
| # | Workflow | Trigger | Key Actions | Artifact |
|---|---|---|---|---|
| 1 | Update status when IA books meeting | Bot: Mover a Oportunidad | Move stage, add tags, notify | 🔗 |
| 2 | Update status when IA disqualifies | Bot: Descalificados | Move to Lost, tag DQ reason | 🔗 |
| 3 | Update disqualified (system) | Tag or stage change | Move stage, log date | 🔗 |
| 4 | Disqualified + pixel | Stage: Lost + DQ tag | Send pixel event | 🔗 |
| 5 | Cold leads | 14d inactivity | Tag cold, move stage | 🔗 |
| 6 | Won + pixel | Stage: Won | Pixel event, onboarding, notify | 🔗 |
| 7 | Lost | Stage: Lost | Capture reason, nurture | 🔗 |
| 8 | Duplicate contact to opp | Opportunity created | Copy contact fields | 🔗 |
| 9 | Meeting reminder | 24h/1h pre-appointment | Send WhatsApp template | 🔗 |
| 10 | Deactivate IA on disqualify | Tag: ia-disqualified | Stop bot, add tag | 🔗 |
| 11 | Follow-up 72h | 72h no response | WA seq: 24h→3d→5d→10d→15d | 🔗 |
| 12 | Create lead from form | Form submission | Create contact + opp + start bot | 🔗 |
| 13 | Google Ads conversions | Stage: Won / Contact created | Send conversion to Google | 🔗 |
Workflow Templates
All 13 workflows with triggers, conditions, actions, and dependency map — full node-level config.
Phase 7: Assets & Go-Live
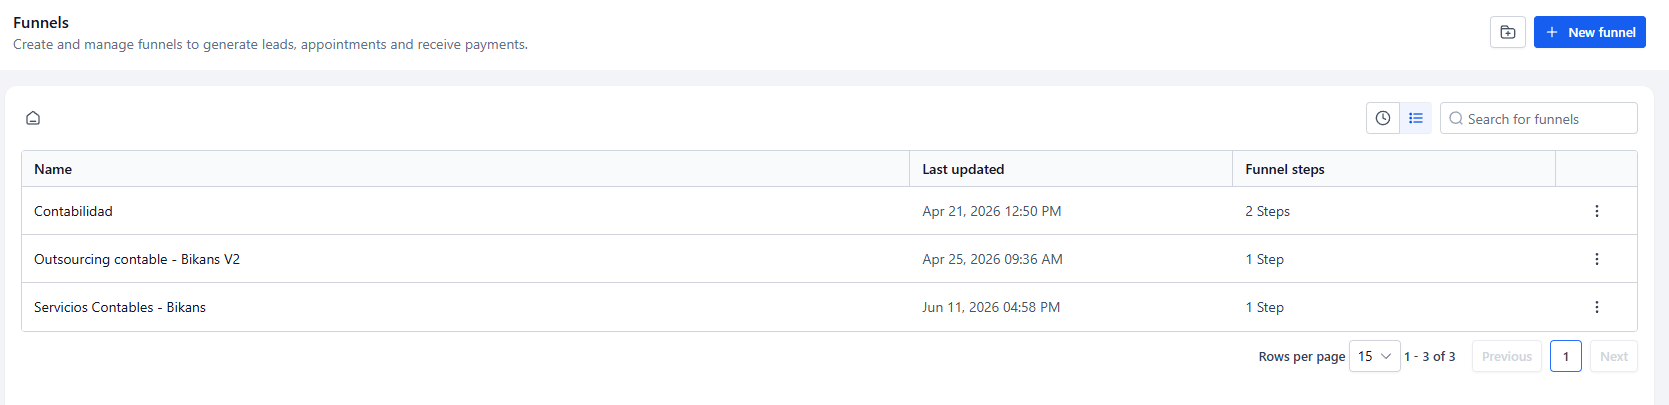
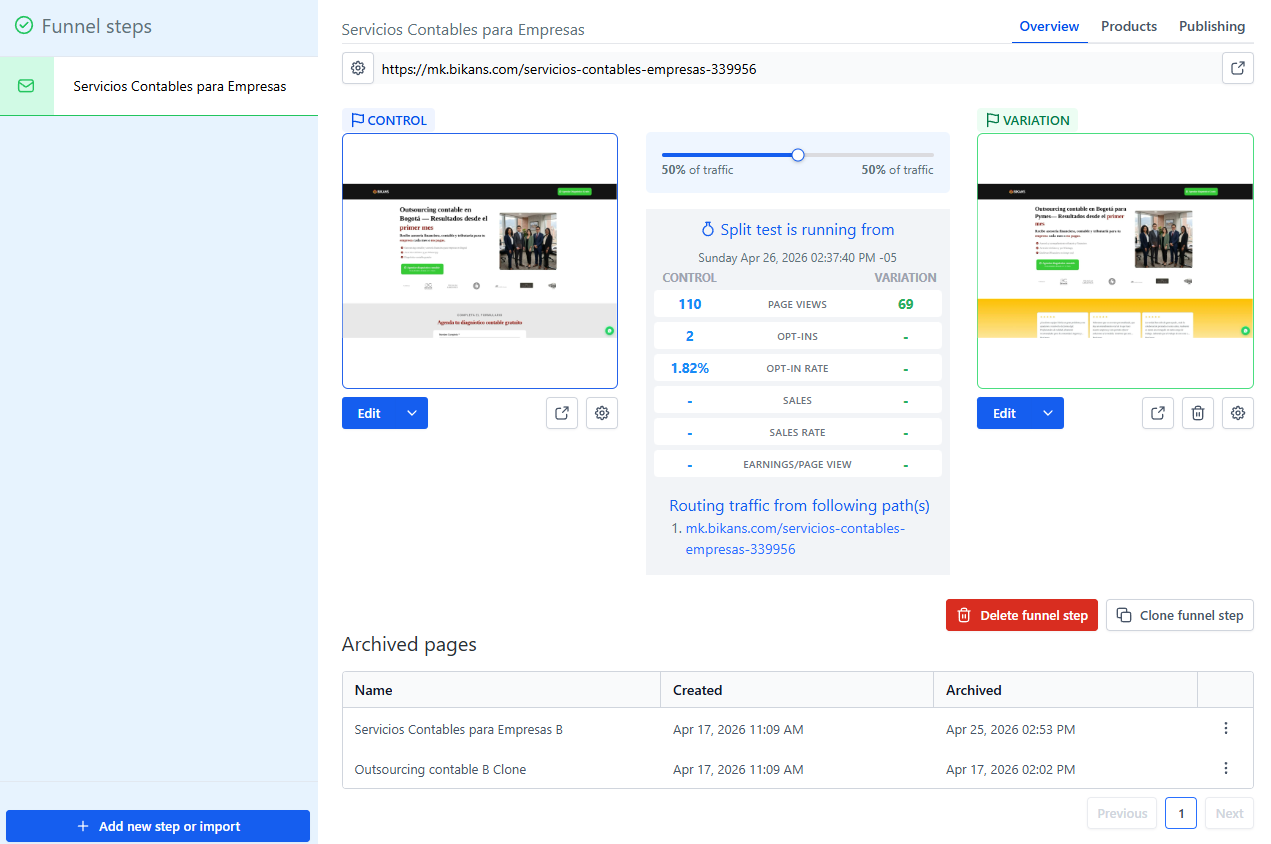
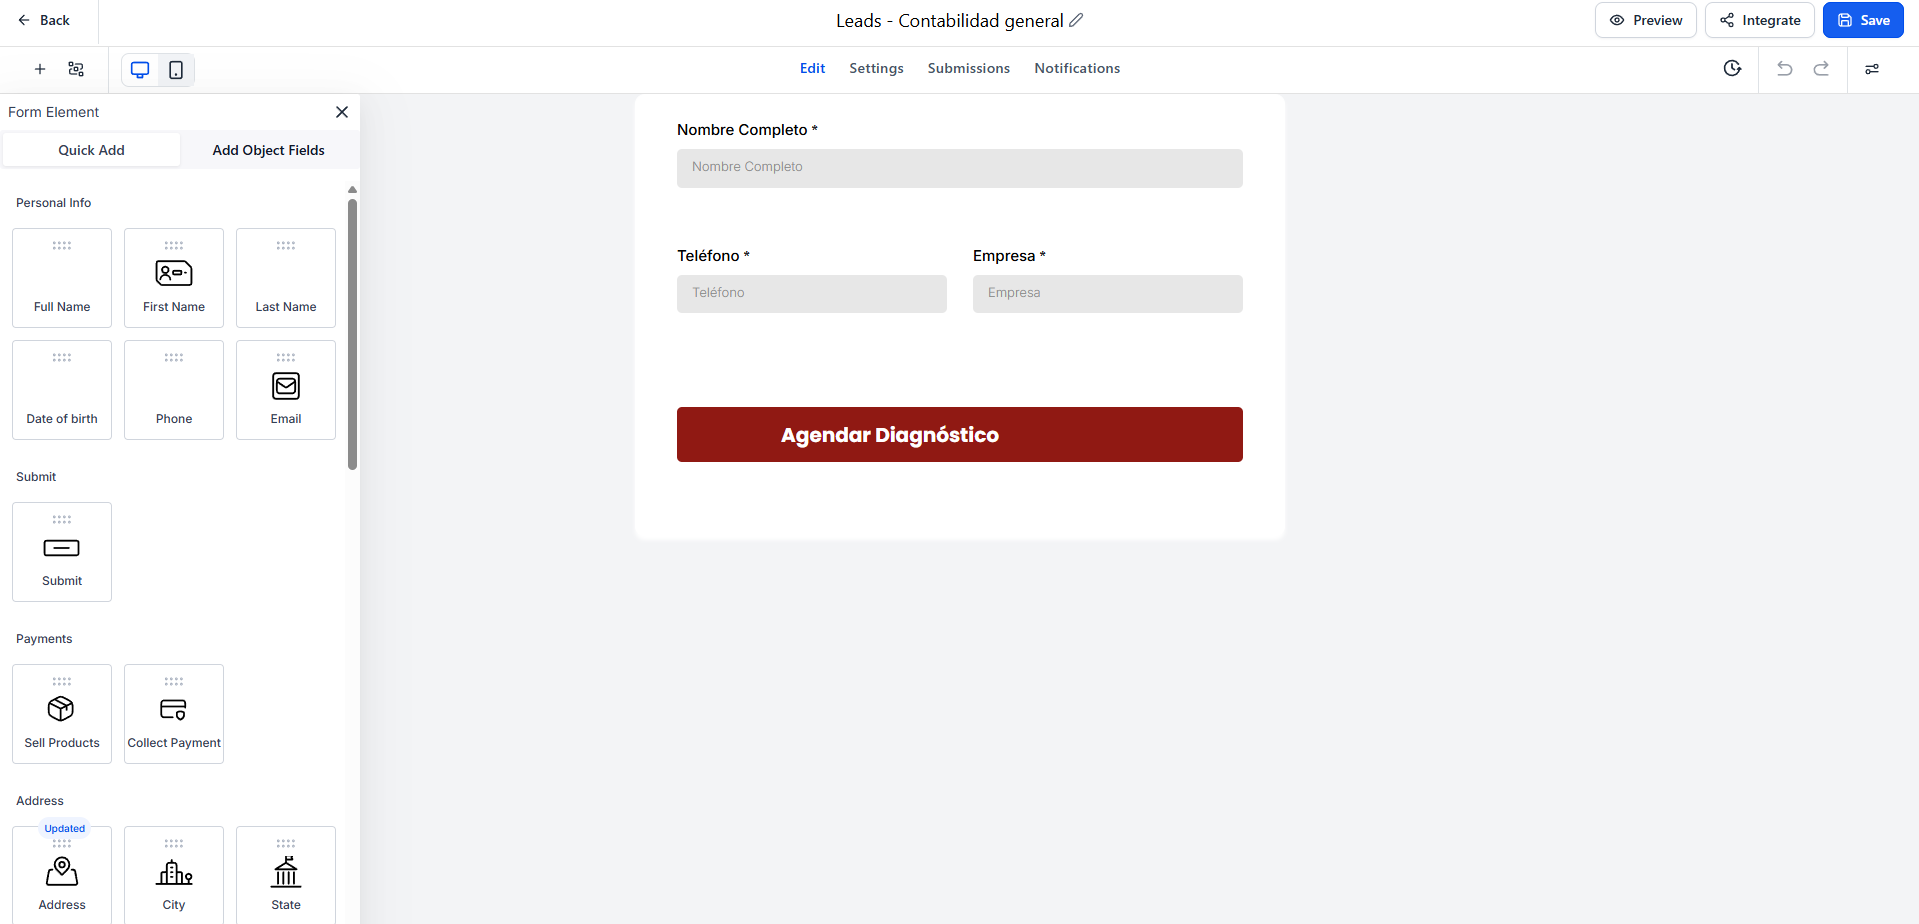
0/5 Pending- Go to Funnels → "Create Funnel". Choose "Landing Page". Use Landing Page Mockup artifact as design reference. Add form element → map each form field to the corresponding custom field key from Fields Table.
- Go to Settings → Domains. Verify main domain and email subdomain are connected. Go to Settings → Email Services → verify DNS records (SPF, DKIM, MX) are green/verified.
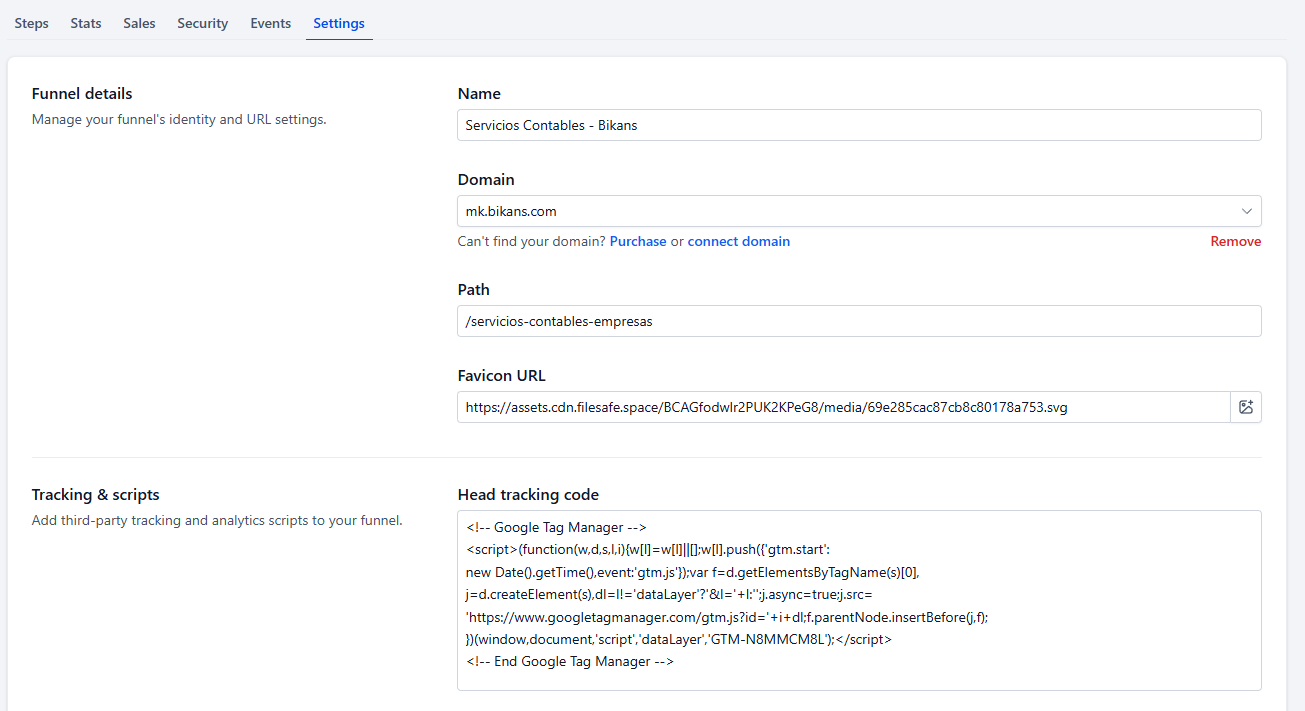
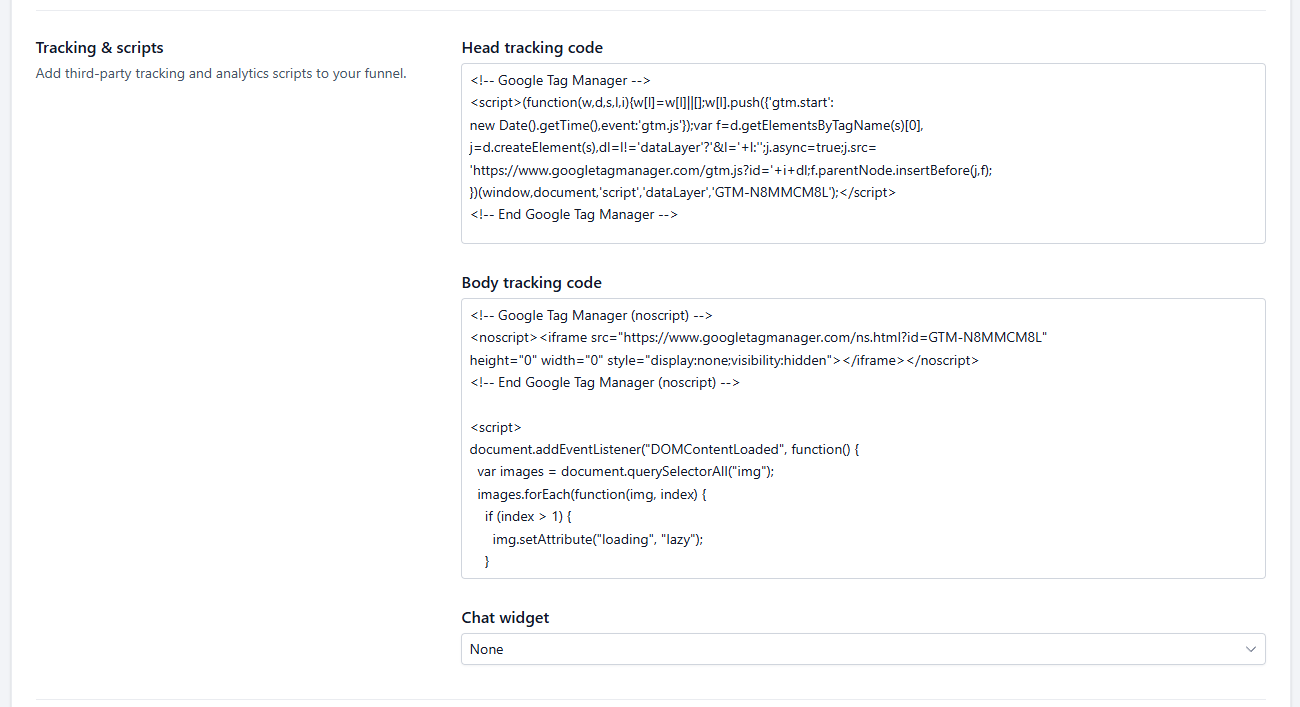
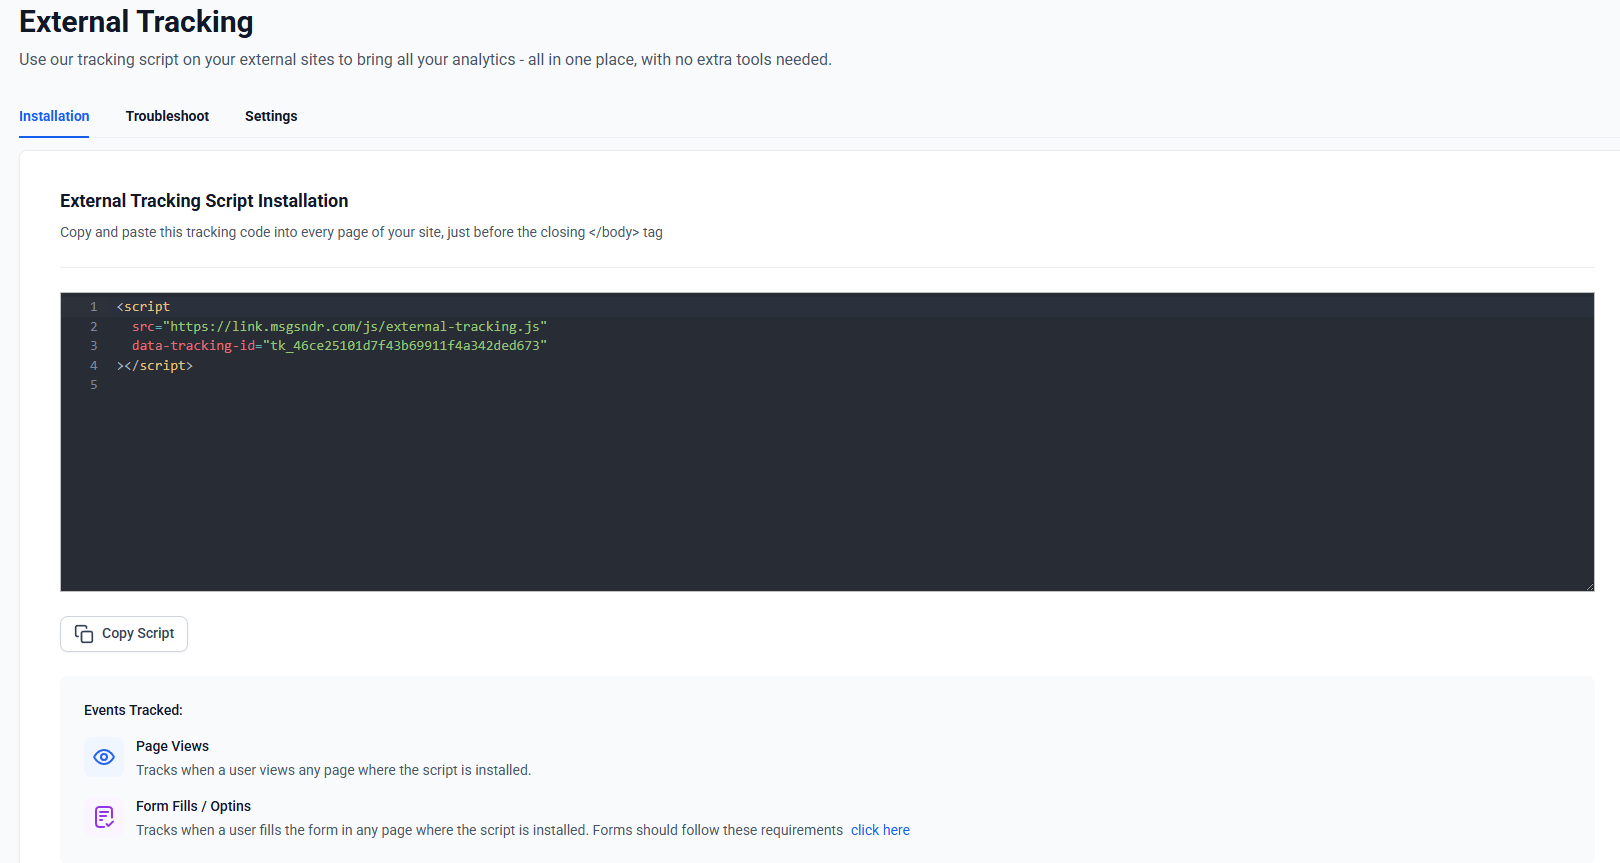
- Go to Funnels → Settings → Tracking Codes. Paste Meta Pixel ID, Google Ads conversion tag, and any other tracking codes. Set up Google Ads conversion in Automation → Workflows.
- E2E test: Submit test form → verify contact created → bot greets → answer all questions → book calendar → verify workflow fires → check tags applied → check stage movement.
- Final sign-off: Review all 8 phases. Confirm all artifacts created. Run go-live checklist: DNS propagated, bot active, workflows enabled, landing page published, tracking verified.
| Type | Name | Value | Purpose |
|---|---|---|---|
| CNAME | mail.coordenadas.co | mail.coordenadas.co | Email subdomain |
| TXT | coordenadas.co | v=spf1 include:spf.leadconnectorhq.com ~all | SPF record |
| TXT | selector1._domainkey.coordenadas.co | v=DKIM1; h=sha256; k=rsa; p=MIGfMA0GCSqGSIb3DQEBAQUAA4GNADCBiQKBgQC... | DKIM signing |
| CNAME | www | ghlsites.com | Subdomain routing |
Landing Page Mockup
Self-contained responsive HTML: Hero → Form → Social Proof → CTA → Footer.